 Everett
 New Construction Windows Are a Different Job Than Replacement Windows
New-construction windows go in during framing, before siding and finish materials close up the wall. They have a nail fin (also called a flange) around the perimeter that gets integrated into the house wrap and flashing as the wall is built, not tucked into an existing opening after the fact. That distinction matters more than most homeowners realize, because it changes how the window ties into the rest of the building envelope. A replacement window has to work with whatever is already there. A new-construction window is installed as part of the wall system itself, which means the crew doing the install is also responsible for getting the water management right at the stud, house wrap, and flashing level, not just setting glass in an opening.
For a builder, GC, or homeowner working on a new build, addition, or full remodel in North Everett, the window installer needs to function as part of the exterior envelope crew, not a separate trade dropping in for a day. We approach it that way because we also work the siding and weather-barrier side of these builds, so we've seen how a rushed or out-of-sequence window install turns into a moisture problem two or three years later.
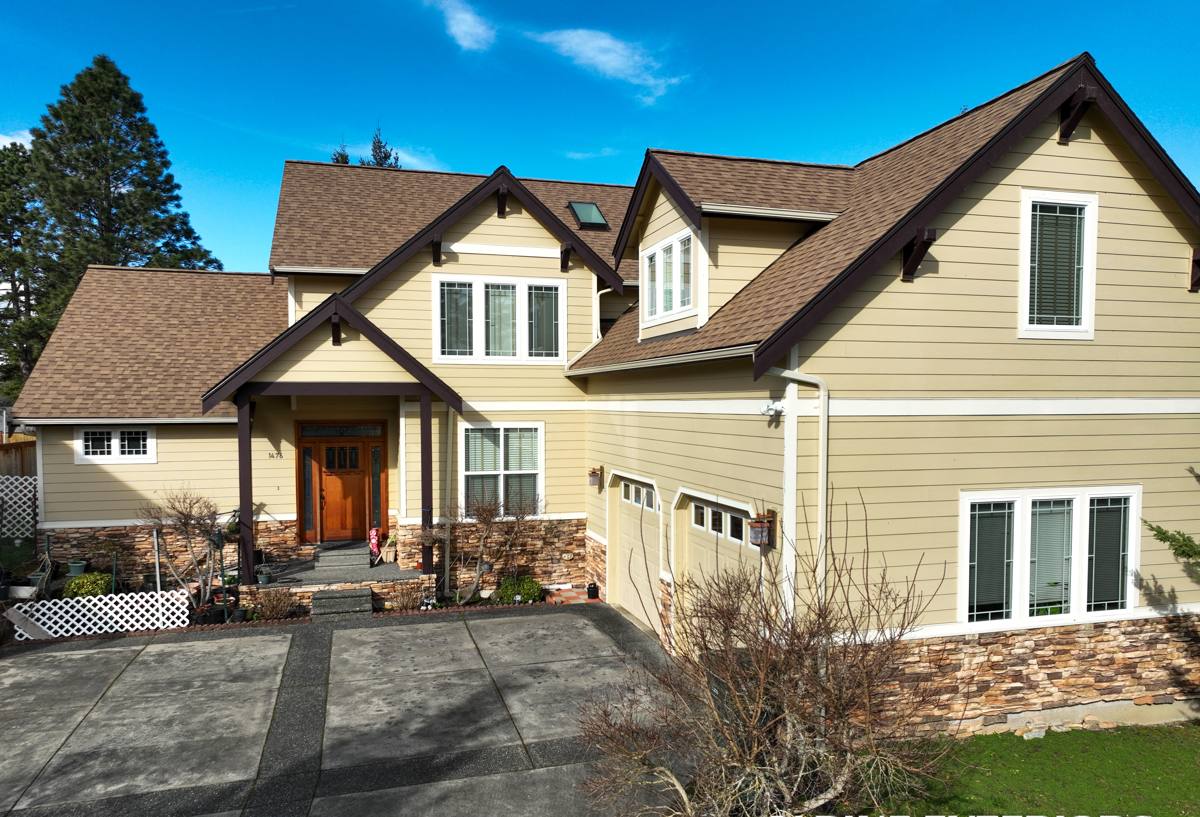
What North Everett's Location Asks of a New Window Install
North Everett sits close to Port Gardner Bay and the Puget Sound waterfront, and homes in this part of the city get real exposure to salt-carrying air off the water along with the wind-driven rain that comes with Pacific storm systems moving through Snohomish County. That combination is harder on a building envelope than plain rainfall. Salt air accelerates corrosion on exposed hardware and fasteners, and driving rain pushes water sideways into gaps and laps that would stay dry in a calmer climate. Add in the long stretch of damp, low-light months that let moss and algae take hold on north-facing walls and rooflines, and you have a set of conditions that punishes any shortcuts in flashing or sealant work.
None of this means new-construction windows in North Everett need exotic materials. It means the ordinary steps — correct flashing sequence, proper sill pan drainage, quality sealants rated for exterior exposure, and fasteners that won't corrode — have to actually get done, in order, every time. Most window failures we get called out to inspect are not product failures. They're installation shortcuts that the local climate eventually exposes.
Flashing and Water Management: Where New-Construction Jobs Succeed or Fail
A window opening is a hole in the weather-resistive barrier, and every layer around it has to shed water downward and outward, in the right order, so nothing gets trapped behind the siding. On a new build this is easier to get right than on a retrofit, because the wall is open and every layer is accessible — but "easier" only helps if the crew actually follows the sequence instead of rushing to get the opening covered.
The Flashing Sequence We Follow
- Sill pan installed first, sloped to drain any water that gets past the window back out to the exterior, not into the framing
- House wrap or WRB lapped correctly at the jambs and head so water sheds over each layer below it, never into it
- Window set to the manufacturer's fastening schedule and shimmed square and plumb before anything is sealed
- Flashing tape or self-adhered flashing at the jambs, then the head, in that order, so laps always shed downward
- Head flashing or drip cap installed last over the top, tying back into the WRB above the opening
- Sealant used only where it belongs in the assembly, not as a substitute for correct flashing laps
Skip a step or do them out of order, and the window can look finished from the outside while water is quietly getting behind the siding. On a coastal-adjacent property, that kind of hidden moisture problem tends to show up as rot, mold, or stained interior drywall well before it becomes visible from the curb.
Choosing Frame Material and Glass for a North Everett Build
Frame material is one of the few genuinely subjective choices in a new-construction window package — the right answer depends on budget, maintenance appetite, and how exposed the wall is to wind and salt air. Here's how the common options compare for this climate:
Frame Material Comparison
| Material | Moisture & Salt-Air Behavior | Maintenance | Relative Cost |
|---|---|---|---|
| Vinyl | Won't rust or rot; performs well in damp coastal air | Low — occasional cleaning | $ |
| Fiberglass | Very stable in temperature swings and moisture, holds paint well | Low | $$ |
| Wood-clad | Good if cladding and flashing details are correct; exposed wood trim is vulnerable to driving rain | Higher — cladding joints and exposed wood need periodic attention | $$$ |
| Aluminum | Strong, slim sightlines, but prone to condensation and corrosion near salt air without a thermal break | Moderate | $$ |
For most North Everett new-construction and addition projects, vinyl and fiberglass cover the majority of budgets and hold up well against this area's rain and salt exposure without much upkeep. Wood-clad windows can still be the right call for a specific look, but we're upfront that the exposed wood elements need real attention in this climate, especially on walls facing the water or prevailing weather.
Glass Packages Worth Paying For Here
Beyond frame material, the glass package matters as much or more for comfort and long-term performance. Low-E coatings and argon- or krypton-filled insulated glass units are standard on most new-construction packages now, and they're worth it — they cut heat loss through the glass and reduce condensation risk on the interior surface during our cold, damp winters. For walls with heavier direct rain and wind exposure, we also look at the window's design pressure (DP) rating, since a window rated for the actual wind and water loads it will see performs better over time than one that's merely code-minimum.
Our Installation Process on New Builds and Additions
Every new-construction window job we run follows the same structure, whether it's a full custom home, an addition, or a garage or ADU conversion:
- Review the rough openings against the window schedule before any units arrive, so sizing or framing issues get caught early instead of at install
- Confirm house wrap or WRB is installed and lapped correctly before we start setting windows
- Install sill pans, set and shim each window, and run the flashing sequence in order — jambs, then head, then tie-in to the WRB above
- Fasten to the manufacturer's schedule and verify each unit operates smoothly and seals fully before moving to the next opening
- Document flashing and sealant details before siding closes the wall, since that's the last point anyone can visually confirm the work underneath
- Walk the finished openings with the builder or homeowner once siding and trim are complete
That documentation step matters more than it sounds. Once siding goes up, the flashing work is invisible — so we treat the pre-siding stage like an inspection point, not just a construction step, because it's the only chance anyone gets to verify the work before it's covered for good.
Coordinating With Builders and General Contractors
New-construction window installs don't happen in isolation. Timing has to line up with the framing crew, the WRB or house-wrap installer, and whoever's doing siding, so windows go in at the right point — not so early that the opening sits exposed longer than necessary, and not so late that it holds up the exterior schedule. On projects where we handle siding and the exterior envelope too, that coordination is straightforward since it's one crew working one sequence. On projects where another contractor runs the build and we're brought in for windows specifically, we work off the builder's schedule and flag any rough-opening or WRB issues before they get baked into the wall.
Snohomish County's inspection process for new construction and additions typically includes a check of the weather-resistive barrier and flashing before siding covers the wall, so getting this sequence right isn't just about long-term performance — it's also what gets a project through inspection without a callback.
Mistakes We See on North Everett New-Construction Jobs
Most of the window-related problems we get called to look at on new builds and additions trace back to a handful of recurring issues, not defective products:
- Flashing installed out of sequence, so laps direct water into the wall instead of away from it
- Sill pans skipped or installed flat instead of sloped to drain
- House wrap cut and taped around the opening without proper integration into the window flange
- Sealant used to cover a flashing mistake instead of fixing the flashing itself
- Windows fastened before they're properly squared and shimmed, leading to binding, air leaks, or seal failure over time
- Exposed fasteners or trim left unprotected against driving rain and salt-carrying wind off the bay
Every one of these is preventable with a correct sequence and a crew that isn't rushing to close in the wall. None of them are visible once siding goes up, which is exactly why they tend to surface as expensive repairs years later instead of getting caught at the time.
Why a Crew That Already Works North Everett Makes a Difference
A window installer who works this part of Everett regularly already knows what this climate does to a building envelope over time, rather than treating every job as a generic install from a manual. We've seen which details hold up against wind off Port Gardner Bay and which ones don't, what moss growth looks like on a wall that was flashed correctly versus one that wasn't, and how Snohomish County's building department wants weather-barrier work documented before it's covered. That local pattern recognition is hard to replace with a crew that's never worked this stretch of coastline before.
It also means we're a known quantity to the builders, GCs, and inspectors we work alongside on North Everett projects, which keeps scheduling and inspection sign-offs moving instead of stalling on unfamiliar work.
Living With New Windows Through Moss Season and Beyond
A correctly installed new-construction window shouldn't need much from a homeowner once the build is done — that's the point of doing the flashing and sealant work right the first time. What we do recommend is an annual check during or after moss season: clear debris from sills and tracks, confirm weep holes aren't blocked, and look for any soft spots in exterior trim, especially on walls that face prevailing wind and rain. Catching a small sealant gap or a clogged weep hole early is a five-minute fix. Left through another wet Snohomish County winter, the same small gap can turn into a moisture problem inside the wall.
If you're planning a new build, addition, or ADU in North Everett and want windows installed as part of a properly sequenced exterior envelope, we're happy to walk the plans or the site and put together a free, no-pressure estimate — just fill out the form below.