 Everett
 Snohomish sits inland along the Snohomish River, away from the immediate waterfront, but it shares the same weather systems that move across the rest of Snohomish County — the salt-tinged air pushed in off Puget Sound, the driving rain that comes sideways off fall and winter storms, and a moss season that, in the shaded, tree-covered lots common here, can run most of the year. We install James Hardie fiber cement siding exclusively, and on Snohomish homes specifically, the questions we hear most aren't about whether fiber cement is the right call — most homeowners here have already ruled out repainting a failing wood exterior every few years — but about which Hardie line fits a river-valley lot, how the install crew handles moisture detailing on a home tucked under mature trees, and what a correct job actually looks like once the crew leaves.
What Snohomish's Climate Actually Does to Siding
Three things wear down exterior materials here, and they compound each other rather than acting separately. Salt-bearing air carried inland from Puget Sound accelerates corrosion on fasteners and speeds the breakdown of field-applied paint films, even away from the immediate shoreline. Driving rain — wind-driven, not just falling straight down — finds its way into lap joints, butt seams, and anywhere flashing was skipped or shortcut. And a long moss season, especially on north-facing walls and anywhere a home sits under fir or cedar canopy, keeps surfaces damp for extended stretches even between storms, giving mold and algae a foothold that plain sunlight and drying time would otherwise prevent.
None of these are exotic conditions — they're the normal cost of building in this part of western Washington. But they matter for siding choice because they punish products that depend on a perfect, evenly-applied field coating and forgive very little in the way of installation shortcuts. That's the core reason we standardized on Hardie's factory-cured ColorPlus finish and climate-engineered HZ product lines rather than site-painted or moisture-sensitive alternatives.
Why River-Valley Lots Need Extra Attention
Homes set back from the road under mature tree cover — common on larger Snohomish lots — see less direct sun and wind than homes on open, exposed streets. That shade is pleasant, but it means walls dry more slowly after rain, gutters and downspouts have more debris to manage, and moss gets a longer runway to establish itself before a dry spell knocks it back. Siding on these lots needs a system that tolerates sustained dampness without softening, delaminating, or hosting mold at the surface — which is a fair description of what fiber cement does well and what wood-based products tend to struggle with over time.
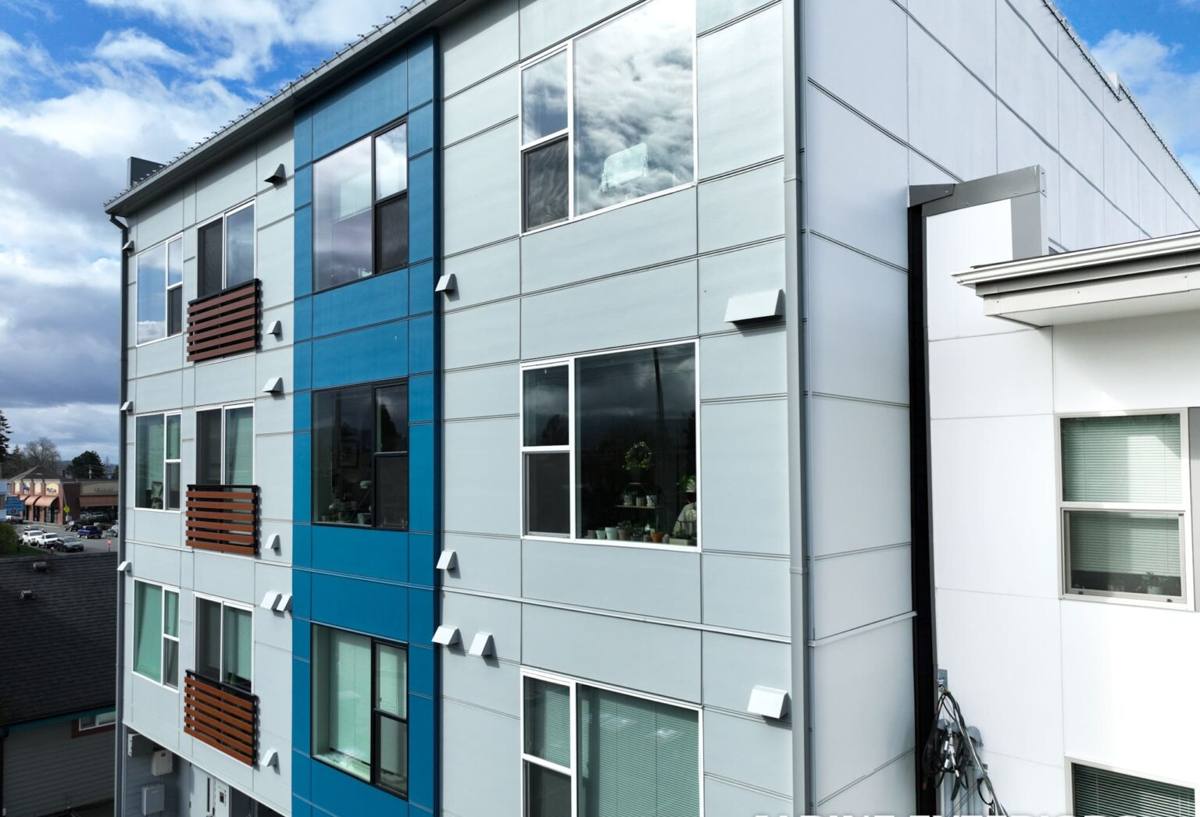
Choosing the Right Hardie Line for This Climate
James Hardie builds its HZ5 and HZ10 product lines specifically around regional moisture and temperature exposure, and getting the right one specified matters more here than in a drier inland climate. The table below covers the practical differences homeowners in this area actually need to weigh.
| Factor | What It Means for a Snohomish Home |
|---|---|
| HZ5 vs HZ10 engineering | Western Washington falls in Hardie's wetter-climate zone; the correct HZ specification is engineered for sustained moisture exposure rather than freeze-thaw cycling, which is the more relevant stress here |
| ColorPlus factory finish | Baked-on, not field-applied — removes the "did the painter get full coverage on every cut edge" variable that driving rain and salt air punish hardest |
| Panel vs lap profile | Lap siding sheds wind-driven rain more predictably at each course; board-and-batten and panel styles need extra care at seams and requires more precise flashing |
| Trim and color pairing | Mid-tone grays and browns show moss and algae staining less visibly than white or very light colors on shaded, tree-covered walls |
| Warranty structure | Hardie's transferable material warranty is separate from the installer's workmanship warranty — both matter, and a homeowner should get both in writing |
What a Correct Installation Actually Involves
The material only performs as designed if the installation follows Hardie's published fastening, clearance, and flashing specifications. This is where most siding failures we get called to diagnose actually originate — not from the product itself, but from shortcuts taken during install that don't show up as a problem until years later.
The Details That Actually Matter
- A weather-resistive barrier installed and lapped correctly behind the siding, not just stapled up as an afterthought
- Proper starter strip at the base course so the first row of siding sits at the correct angle and height off the foundation
- Minimum clearance maintained between the bottom of the siding and grade, decks, roof lines, and hardscaping — a detail that's easy to skip and hard to notice until moisture damage shows up at the wall base
- Correct fastener type, spacing, and placement — over-driven or under-driven nails compromise the board's ability to move with temperature and moisture changes
- Flashing at every window, door, and penetration, installed to shed water outward and downward, not caulked over as a substitute for actual flashing
- Butt joints and seams treated per Hardie's specification, with the right gap and sealant rather than tight-butted boards that have nowhere to expand
- Proper caulking only where Hardie specifies it — over-caulking traps moisture behind the board rather than letting it drain and dry
Every one of these is inexpensive to do right at install time and expensive to fix later, since diagnosing a moisture problem behind finished siding usually means removing boards to find the actual source.
How Our Process Works
We start with an on-site assessment of the existing exterior — what's underneath the current siding, where past moisture damage shows up, and what the wall assembly actually needs before new siding goes on. Skipping this step is how homeowners end up with beautiful new siding over rotten sheathing, which solves nothing.
From Assessment to Finished Wall
- Walk the exterior and identify problem areas — soft spots, existing moisture staining, failed flashing, and any areas where past repairs were done incorrectly
- Remove existing siding and inspect sheathing and framing underneath; replace anything compromised before new material goes up
- Install or replace the weather-resistive barrier and correct any flashing deficiencies at windows, doors, and penetrations
- Install James Hardie siding to manufacturer specification — correct clearances, fastening, and joint treatment throughout
- Final walk-through with the homeowner, covering what was done, what to watch for, and how the warranty works going forward
We document what we find during tear-off, especially when it differs from what the initial assessment suggested, so homeowners aren't surprised by mid-project findings and understand exactly what they're paying for.
Why a Crew That Already Works This Area Matters
A crew that regularly works Snohomish and the surrounding Snohomish County area has already seen how homes here actually age — which wall orientations hold moisture longest, which older construction styles tend to have flashing gaps at windows, and which lots need extra attention to moss and drainage because of tree cover. That's not something a crew that mostly works a different climate picks up quickly; it comes from repeated exposure to the same conditions on real jobs.
It also matters for permitting and code familiarity. Siding replacement that involves structural sheathing repair or significant exterior changes needs to be done to current code, and a crew that regularly pulls permits in this county already knows what the local building department expects, which keeps a project from stalling on paperwork.
What to Expect Over the Life of the Siding
James Hardie siding installed correctly is a low-maintenance product, not a zero-maintenance one. Homeowners should expect to rinse the exterior periodically to keep pollen, dust, and early moss growth from building up, especially on shaded walls. Caulking at trim and penetrations should be inspected every few years and refreshed if it's cracked or pulling away, since that's the one maintenance item that genuinely affects moisture performance over time. Beyond that, ColorPlus finishes are designed to hold their color far longer than a field-applied paint job, which is one of the more practical, day-to-day reasons homeowners here appreciate not being back on a repainting cycle every few years.
Questions Worth Asking Before You Hire
Not every contractor who sells or installs Hardie does it to the same standard, and a lower bid often reflects skipped details rather than efficiency. Before hiring anyone for a Snohomish-area siding project, it's worth confirming the following:
- Are they a factory-certified James Hardie installer, and can they explain the difference between the material warranty and their own workmanship warranty?
- Will they inspect and address sheathing and moisture issues before installing new siding, or just cover what's there?
- Do they carry current Washington contractor licensing and bonding, and will they pull the required permit themselves?
- Can they explain, specifically, how they handle flashing at windows and butt joints — not just "we follow the manual"?
- Do they have experience with homes in this specific area, and can they speak to how local moisture and tree cover affect the job?
If you're weighing a siding project for a Snohomish-area home, we're happy to walk the exterior with you, look at what's actually going on underneath the current siding, and give you a straightforward, no-pressure estimate for doing it right the first time.