 Everett
 Windows in Bayside Take a Different Kind of Beating
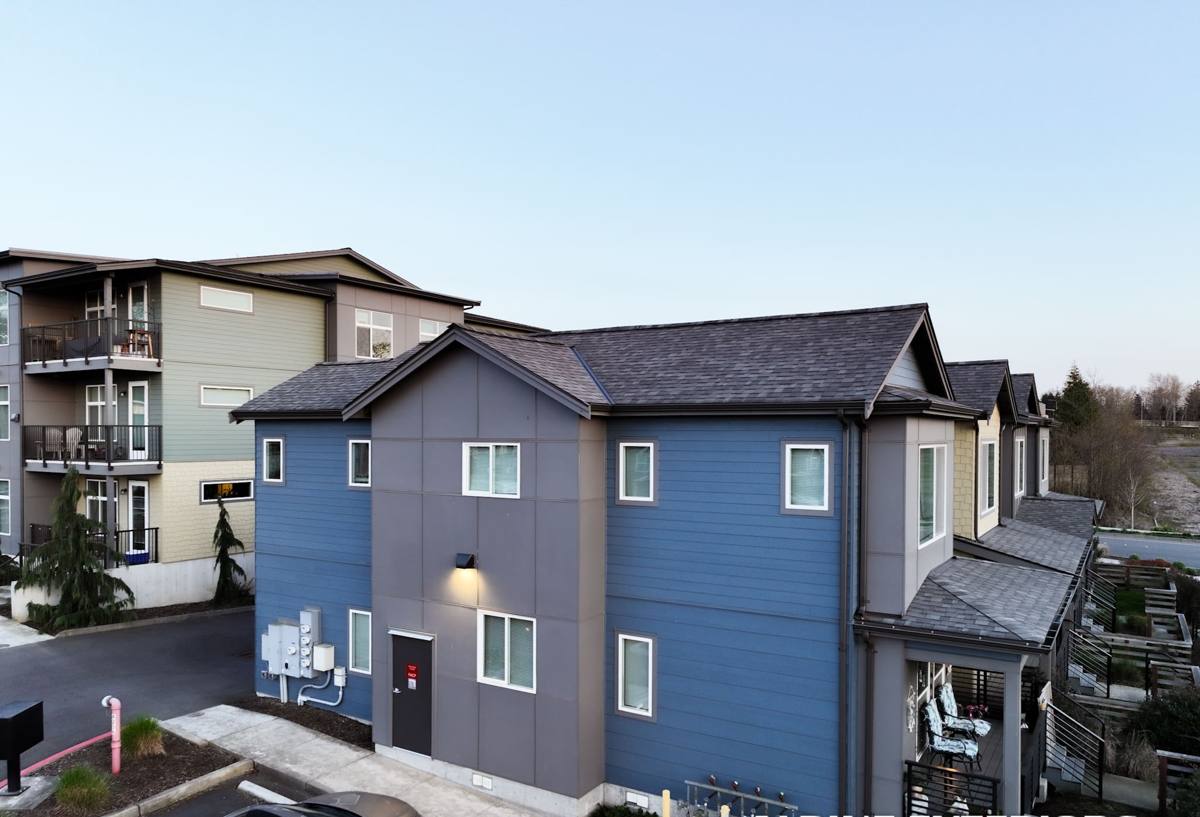
Bayside sits up on the bluff above Port Gardner Bay, which means the same view that makes the neighborhood desirable also means the windows up there catch more weather than homes further inland. Wind coming off the water drives rain sideways into west- and north-facing walls, salt-laden air works on any exposed metal hardware, and the long stretch of gray, wet months from fall through spring keeps wood trim damp for weeks at a time. None of that is unique to any one house — it's just what Everett's marine climate does to a building envelope, and windows are usually the first place it shows.
When we talk about "window installation" for a Bayside home, we're not just talking about swapping glass. We're talking about how a window is flashed, sealed, and tied into the wall around it so that the water this neighborhood sees every winter has nowhere to go but back outside.
How the Climate Actually Damages Windows Here
Wind-Driven Rain
A window that would be fine in a sheltered inland yard can leak in Bayside simply because rain here doesn't fall straight down — it gets pushed sideways by bluff-top wind. That means water pressure against the top and side flashing is higher than a lot of installers plan for, and any shortcut in the flashing detail shows up as a leak years before it would in a calmer location.
Salt Air and Corrosion
Proximity to Puget Sound means airborne salt settles on everything, including window hardware, screen frames, and exposed fasteners. Lower-grade hinges, cranks, and locks corrode noticeably faster here than in non-coastal parts of Snohomish County. It's a slow process, but it's steady, and it's one of the reasons hardware quality matters as much as the glass itself.
Moss and Prolonged Moisture
Everett's moss season isn't limited to roofs. Moss and algae take hold anywhere wood stays damp for extended periods — window sills, sashes, and trim included. Once organic growth gets a foothold on wood components, it holds moisture against the surface and accelerates rot from the outside in, often before a homeowner notices anything beyond some green staining.
Signs a Bayside Home's Windows Are Losing the Fight
- Fogging or a permanent haze between panes — the seal has failed and the gas fill is gone
- Soft or spongy trim and sills, especially on west- and north-facing walls
- Green or black staining on wood sashes that keeps coming back after cleaning
- Drafts you can feel near the frame even when the window is fully latched
- Cranks, locks, or hinges that have gone stiff, gritty, or visibly corroded
- Peeling or bubbling paint on interior trim, which often means moisture is getting in from outside
- Noticeably higher heating bills in winter with no other explanation
Any one of these can be minor. Several together usually mean the window or its installation has reached the point where repair is a stopgap, not a fix.
What a Correct Installation Actually Involves
Most window failures we see in this part of Snohomish County aren't caused by bad windows — they're caused by a window that was set into the wall without the flashing and sealing sequence done in the right order. That sequence matters more in Bayside's wind and rain exposure than it would somewhere sheltered.
Flashing Comes First
Before a new window goes in, the rough opening needs a proper sill pan and flashing tape integrated with the house's existing weather-resistive barrier — sill flashing first, then the sides, then the head flashing lapped over the top so water sheds down and out, never behind the siding. Skipping or reversing this order is the single most common cause of hidden leaks we find when we open up an old installation.
Sealing Without Trapping Moisture
The window frame gets sealed to the opening with the right combination of backer rod, sealant, and insulation — enough to stop air and water intrusion, but not packed so tight that any moisture that does get in has no way to drain back out. A fully sealed, non-draining gap is often worse than a slightly imperfect one, because it traps water against the framing instead of letting it escape.
Fastening and Support
The window needs to be shimmed level and square, fastened per the manufacturer's pattern, and checked for square operation before trim goes back on. A window that's slightly racked in the opening will bind, won't seal fully when latched, and will wear its hardware unevenly — a bigger problem here given how corrosion-prone hardware already is in salt air.
Interior and Exterior Trim
Exterior trim gets back-primed and sealed at every joint before it's reinstalled, since end grain and joints are where wood trim starts absorbing water first. Interior trim is finished after the window is confirmed weathertight, not before.
Choosing a Window Type for Bayside's Exposure
There's no single "best" window for every home — it depends on the wall's exposure, the home's age and construction, and the homeowner's maintenance preferences. Here's how the common options stack up for a coastal-influenced, high-moss climate like this one:
| Frame Material | Weather Performance Here | Maintenance | Typical Fit |
|---|---|---|---|
| Vinyl | Good moisture and salt-air resistance; won't rot or corrode | Low — occasional cleaning | Most homes, especially budget-conscious full-house replacements |
| Fiberglass | Excellent — very stable in temperature swings and wet cycles, minimal expansion/contraction | Low | Homes wanting durability and a narrower frame profile |
| Wood | Weakest against this climate unless meticulously maintained; prone to rot and moss staining | High — regular painting/sealing required | Historic homes where matching original wood trim matters more than upkeep |
| Wood-clad (wood interior, metal/vinyl exterior) | Good — exterior shell handles the weather while interior keeps a wood look | Moderate | Homeowners who want a wood interior without full wood maintenance |
For hardware, we lean toward corrosion-resistant finishes on any Bayside job regardless of frame material, since standard-grade hardware is exactly what tends to seize up first in this air.
Our Installation Process
- On-site assessment — we check existing framing, look for hidden rot or prior water damage, and measure each opening individually rather than assuming uniformity
- Product selection — we go over frame material, glass package, and hardware options based on that wall's specific sun and rain exposure
- Removal and opening prep — old windows come out, and we inspect and repair any rotted or compromised framing before anything new goes in
- Flashing and sill pan installation — the weatherproofing layer that actually determines whether the window stays dry for the next twenty years
- Window setting and fastening — leveled, squared, and secured per manufacturer spec
- Sealing and insulating — air- and water-sealed at the frame without trapping moisture behind it
- Trim and finish work — exterior trim back-primed and sealed, interior trim finished last
- Final walkthrough — every window opened, closed, and locked to confirm smooth operation before we consider the job done
Timing the Work Around Everett's Weather
Window installation can happen almost any time of year, but scheduling around Snohomish County's wettest stretches — typically late fall through early spring — reduces the window of time an open rough opening is exposed to rain. We plan installs to minimize how long any opening sits uncovered, and we don't leave a house exposed overnight when weather is in the forecast. If a project has to happen during moss season, we simply build in the extra care that season demands rather than rushing the flashing work to beat the rain.
Why a Crew That Already Works Bayside Matters
A contractor who's worked bluff-top homes in this neighborhood already knows which walls tend to take the worst wind-driven rain, how the local moisture and moss cycle behaves through the year, and what corrosion actually does to hardware here over time — not in theory, but from having replaced windows that failed for exactly those reasons. That local pattern recognition shows up in small decisions: which sealant holds up in this humidity, how much drainage gap to leave, which hardware finish is worth the extra cost on a west-facing wall. It's the difference between a technically correct installation and one that's correct for this specific climate.
Keeping New Windows Performing Long-Term
- Rinse sills and tracks periodically to keep salt residue and grit from grinding into hardware
- Check exterior caulk lines once a year, typically in early fall before the rains set in
- Keep gutters and downspouts clear so runoff isn't sheeting down across window heads
- Watch for moss or algae starting on sills and wipe it off before it gets established
- Operate cranks and locks a few times through the winter so mechanisms don't seize from disuse
- Report any soft trim, new drafts, or interior condensation early rather than waiting
If your Bayside home's windows are drafty, fogged, sticking, or just original to a house that's due for an upgrade, we're happy to take a look and walk you through honest options for your specific walls and exposure. Reach out below for a free, no-pressure estimate — no obligation, no pressure, just a straight assessment of what your home actually needs.