 Everett
 Windows Built for Bayside's Waterfront Exposure
Homes along the bayside stretches of Everett sit closer to the weather than homes even a mile or two inland. Wind comes off the water carrying salt, driving rain hits west- and south-facing walls at an angle instead of straight down, and the shaded, damp corners of a lot stay wet long after the rest of the yard has dried out. Windows are one of the first components to show the effects of that exposure, because they combine metal, wood, glass, and sealant in a single assembly that has to keep moving air and water out for decades.
In Snohomish County's marine climate, the failure pattern in bayside homes is fairly consistent: seals give out earlier than the warranty would suggest, hardware corrodes faster than it does a few miles inland, and moss and algae take hold on north-facing frames and sills where sun never really dries things out. None of that means windows near the water are a bad investment — it means they need to be selected and installed with that exposure in mind, not treated the same as a window going into a dry inland subdivision.
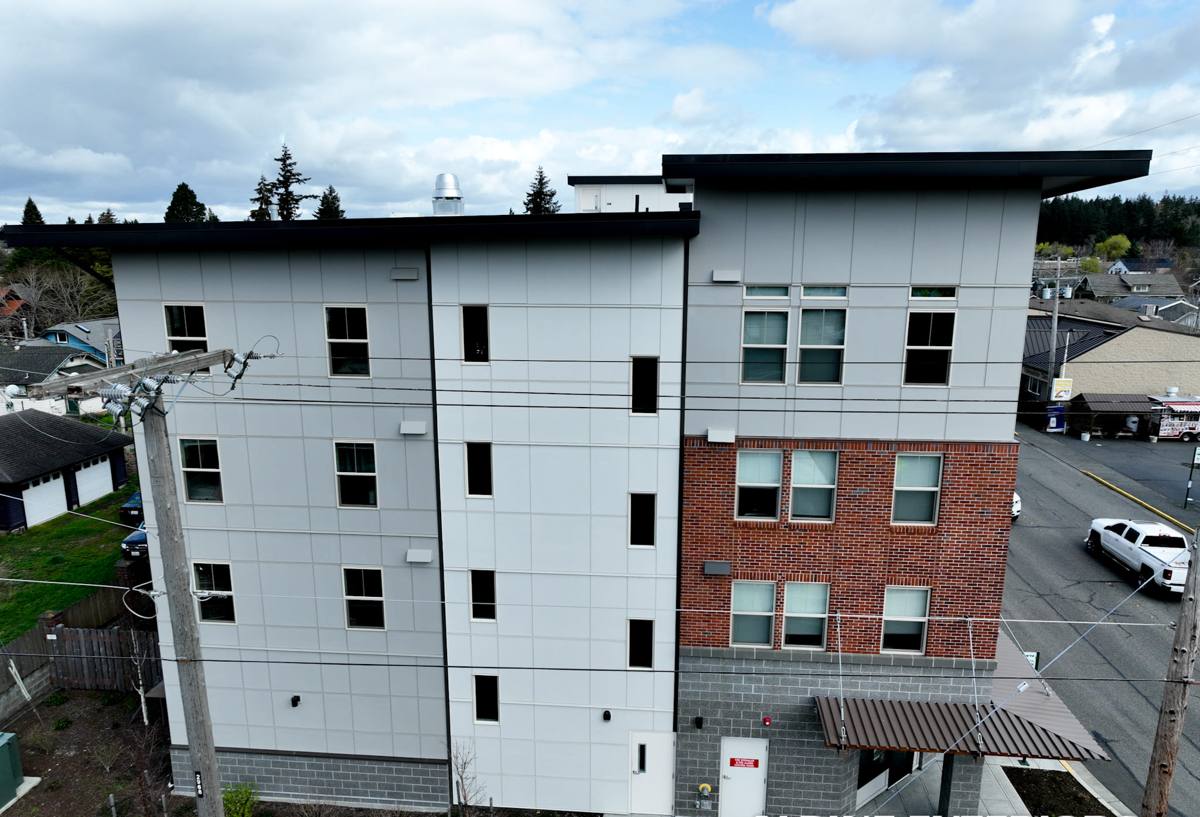
Signs Your Bayside Windows Are Losing the Fight
Salt air and constant moisture don't announce themselves with a dramatic failure. They show up as small, slow signs that a lot of homeowners write off as cosmetic until the damage reaches the framing underneath.
- Fogging or a hazy film between panes — the seal on the insulated glass unit has failed and moisture is getting between the layers of glass
- Green or black growth collecting in the corners of frames or on sills, especially on the shaded side of the house
- Sashes that stick, drag, or won't latch flush — often swelling in wood components or corrosion in hardware and balances
- Soft or discolored trim and sill material, which usually means water has been getting behind the window rather than shedding off it
- A draft or cold spot at the frame edge that wasn't there when the house was newer
- Visible corrosion or a chalky white residue on aluminum or older metal components — a telltale sign of salt exposure
Any one of these on its own might just mean a window needs cleaning or minor repair. Several of them together, especially on the water-facing side of a bayside home, usually means the window assembly itself — frame, flashing, and seal — has reached the point where replacement is the more honest answer than another repair.
What a Correct Installation Involves in a Bayside Setting
It starts with the opening, not the window
A high-quality window installed into a poorly flashed or already-damaged rough opening will fail early no matter how good the unit itself is. Before a new window goes in, the opening gets checked for water damage, rot, and proper slope at the sill so water is directed out and away rather than pooling. Any compromised framing or sheathing gets addressed before the new window is set — skipping this step is the single most common reason a "good" window starts failing within a few years in a wet, wind-driven climate.
Flashing and sealant do the real work
The window unit itself keeps out maybe half the water a wall assembly deals with over its life. The other half is managed by flashing tape, sill pans, and sealant details that are invisible once the trim goes back on. In a bayside setting where wind-driven rain hits at an angle, a proper sill pan with an integrated drainage path and correctly lapped flashing (so each layer sheds water onto the layer below it, never the reverse) matters more than it does on a sheltered inland wall.
Hardware and fastener choice
Standard fasteners and hardware finishes that hold up fine inland can corrode noticeably faster within regular reach of salt air. Corrosion-resistant fasteners and hardware rated for coastal or marine exposure cost a little more up front and save a callback a few years down the road.
Choosing Frame Material for Salt Air and Constant Moisture
Every common window frame material can work near the water — but each comes with a different maintenance conversation once salt air and moss are part of the equation.
| Frame Material | Coastal Performance | Maintenance Consideration |
|---|---|---|
| Vinyl | Won't corrode or rot; handles moisture well | Keep weep holes clear of salt residue and debris; check seals periodically |
| Fiberglass | Very stable in temperature swings and moisture; strong resistance to warping | Higher upfront cost; low ongoing maintenance |
| Wood or wood-clad | Good insulator and classic look, but the wood core is vulnerable if the exterior cladding or finish is breached | Requires attentive finish maintenance, especially on shaded, damp-prone elevations |
| Aluminum | Strong and slim-profile, but bare aluminum is prone to corrosion and pitting in salt air | Needs a marine-grade finish or anodized coating; watch for corrosion at fasteners |
We'll walk through this table in person for your specific elevation and exposure, because a north-facing wall that never sees direct sun behaves differently than a south-facing wall that dries out daily even in the same house.
Our Bayside Window Replacement Process
- On-site assessment — we look at each window's exposure individually rather than treating the whole house as one condition. A shaded, water-facing window and a sheltered, sun-exposed one often need different specs.
- Opening inspection — we check framing, sheathing, and existing flashing for hidden water damage before quoting the work, so the estimate reflects what's actually behind the trim.
- Product selection — frame material, glass package, and hardware are matched to each opening's exposure and your budget, not a one-size default.
- Removal and opening prep — old units come out carefully to protect interior finishes and siding, and any damaged framing or sheathing is repaired before anything new goes in.
- Flashing and sill pan installation — this is the step that determines how the window performs in driving rain, and it's the one that's invisible once trim goes back on.
- Setting, sealing, and insulating — the window is shimmed level and plumb, sealed per manufacturer specification, and insulated around the frame without overpacking, which can bow the frame.
- Trim, cleanup, and walkthrough — exterior and interior trim is finished, the site is cleaned, and we walk each window with you so you know how it operates and what to watch for.
What Drives Cost on a Bayside Job
Two houses with the same number of windows can land at very different price points once exposure and condition are factored in. These are the variables that move the number most:
| Factor | Why It Matters Here |
|---|---|
| Frame material | Fiberglass and better-grade vinyl cost more up front but need less attention over time in salt air |
| Glass package | Impact-resistant or upgraded low-E glass adds cost but pays off in comfort and durability against wind-driven weather |
| Rough opening condition | Water damage found during removal means repair work before the new window can go in — this is the most common source of a revised estimate |
| Number and size of openings | Larger units and specialty shapes cost more per opening than standard sizes |
| Access and elevation | Second-story or hard-to-reach windows on a sloped bayside lot can add labor time |
We give a written, itemized estimate before any work starts, so you know exactly what you're paying for and why — not a single lump number with no explanation behind it.
Why Hiring a Crew That Already Works Bayside Matters
Window installation is a trade where the manufacturer's instructions cover maybe 70% of what actually determines how long the job lasts. The other 30% is judgment calls: how much flashing overlap to build in on a wall that takes wind-driven rain, which fastener grade to spec so hardware doesn't chalk and seize in a few years, and where moss and algae are likely to collect based on which way a wall faces and how much sun it gets. A crew that has done this work elsewhere in Everett and around Snohomish County has already seen how these houses age near the water, and builds that knowledge into the estimate and the install rather than learning it on your house.
It also means fewer surprises mid-project. Opening up an older bayside wall and finding water damage behind the trim isn't rare — it's close to expected on a home that's had a few decades of exposure. A contractor who's seen it before can price that possibility into the conversation up front instead of it becoming an unpleasant change order later.
Living With New Windows Through Moss Season
New windows reduce maintenance, but they don't eliminate it — especially through Everett's long, wet moss season. A few habits keep new windows performing the way they're supposed to for the long haul:
- Rinse salt residue and grime off exterior frames and glass periodically, particularly on the side of the house that faces the water
- Keep weep holes and drainage channels clear of moss, leaves, and debris so water can actually exit the frame
- Check exterior sealant beads yearly for cracking or separation, and have any gaps addressed before they let water behind the trim
- Trim back vegetation and clear gutters near shaded, damp-prone elevations where moss tends to establish first
- Operate sashes a few times each season, even ones you rarely open, so hardware and weatherstripping don't seize or compress unevenly
None of this is heavy maintenance — it's the same handful of checks, done a couple of times a year, that keeps a well-installed window performing for its full service life instead of quietly failing behind the trim.
If your Bayside home's windows are showing fog, drafts, sticking sashes, or moss buildup that cleaning won't touch, we're happy to take a look. Fill out the form below for a free, no-pressure estimate — we'll assess each window's actual condition and exposure and give you a straight answer on what it needs.