 Everett
 Building New in Port Gardner Means Getting the Windows Right the First Time
Port Gardner sits right on the water, and that location shapes everything about how a new home should be built here. The bay throws salt-laden air at every exterior surface, driving rain comes in sideways during fall and winter storms, and the wet season runs long enough that anything installed with a shortcut shows it within a year or two — usually as a moss line, a stain, or a soft spot nobody wants to find behind the drywall. When you're building new, you get one real chance to install windows correctly before siding, trim, and interior finishes close everything up. There's no "we'll fix it during the next remodel." Whatever goes in during framing is what that house lives with for the next thirty-plus years.
We install new-construction windows for builders and homeowners across Everett and Snohomish County, and Port Gardner jobs get treated differently than a standard build a few miles inland. The wind exposure off the bay, the salt content in the air, and the sheer number of wet days per year all push us toward specific choices in flashing detail, hardware, and glazing that we wouldn't necessarily insist on elsewhere.
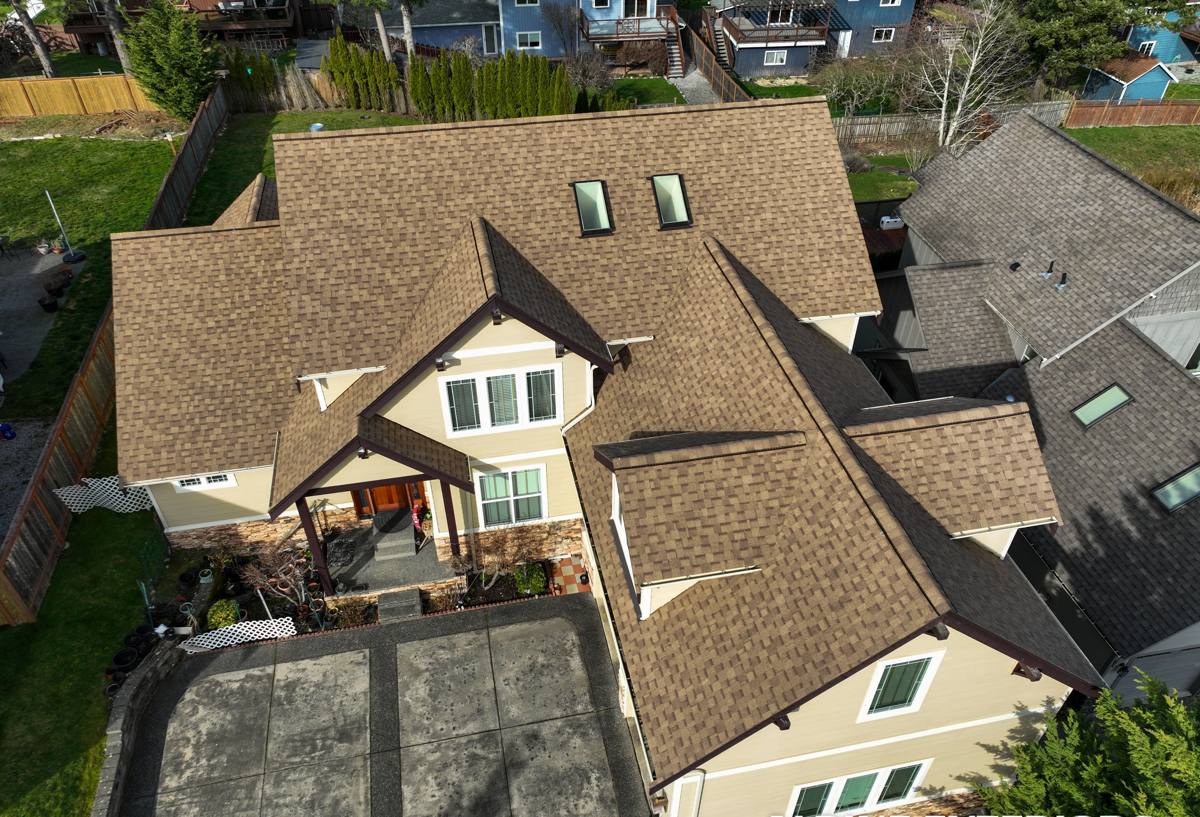
New Construction Is Not the Same Job as Replacement
It's worth being clear about this up front, because a lot of homeowners assume window installation is window installation. It isn't. Replacement work fits a new window into an existing, already-weatherproofed wall — the surrounding siding and flashing stay put, and the whole job is built around not disturbing them. New construction is the opposite: the rough opening is bare, the weather-resistive barrier (WRB) isn't installed yet or is just going on, and the window becomes part of a layered water-management system that we're building from scratch alongside the framers and siding crew.
That's actually an advantage on a new build — done right, there's no old flashing to work around and no guesswork about what's hidden in the wall. But it also means there's no room for a rushed sequence. Every layer has to go on in the correct order, lapped the correct direction, before the next trade closes it up.
Why Sequencing Matters More Here Than Almost Anywhere
On a bay-facing lot, wind-driven rain doesn't just fall on a window — it gets pushed into every gap that isn't properly shingled. If the head flashing goes on before the WRB instead of over it, or if the sill pan isn't sloped and lapped correctly under the jamb flashing, water finds that seam eventually. On an inland lot with less wind exposure, a minor sequencing error might never show up. On a Port Gardner lot facing the open water, it usually does.
What a Correct Installation Actually Involves
- Sill pan flashing — installed with a back dam and slight slope to the exterior, so any water that gets past the window sheds outward instead of pooling against the framing.
- Jamb flashing shingled over the sill pan — never tucked under it, so water always moves down and out.
- Head flashing installed over the WRB, not under it, so water running down the wall face sheds past the window rather than behind it.
- Fasteners placed per the manufacturer's schedule — spacing and location matter for wind-load performance, which is a real factor this close to open water.
- Sealant used as a secondary defense, not the primary one — caulk fails eventually; flashing shouldn't rely on it to do the main job.
- Rough opening sized and shimmed correctly so the window operates smoothly and doesn't rack out of square as the house settles.
Every one of these steps gets inspected as part of the build process, and every one of them is effectively invisible once siding goes on. That's exactly why the crew doing this work needs to treat it as permanent — because for practical purposes, it is.
Choosing Materials for Salt Air, Wind, and a Long Wet Season
New construction gives you a real choice in frame material and glazing package, since you're not constrained by an existing opening. For a Port Gardner lot, we weigh salt exposure, moisture, and maintenance appetite alongside the usual budget conversation.
| Frame Material | Salt Air / Moisture Behavior | Maintenance | Typical Fit |
|---|---|---|---|
| Vinyl | Doesn't corrode; performs well near salt air | Low — occasional cleaning | Most budgets, standard new-construction spec |
| Fiberglass | Very stable in moisture and temperature swings | Low | Higher-end builds, larger openings |
| Wood, clad exterior | Good if cladding and joints are properly sealed | Moderate to higher long-term | Interior wood look with protected exterior face |
| Bare aluminum | Prone to corrosion and condensation in salt air over time | Higher | We generally steer clients away from this on bay-facing lots |
Hardware matters too. Standard hinges, locks, and cranks aren't always built for salt-air exposure, so on bay-facing builds we favor corrosion-resistant hardware components rather than the baseline option — a detail that's cheap to spec at the framing stage and expensive to fix later.
Glazing and Energy Code
Washington's state energy code sets minimum U-factor and solar heat gain requirements, and your window schedule has to meet them regardless of view or orientation. Dual-pane, low-E, argon-filled glass is the standard baseline for new construction in this climate. On homes with larger bay-facing glass — where wind load and driving rain hit hardest — we'll often talk through triple-pane or a heavier glazing package, not because code requires it, but because it holds up better against the specific punishment that exposure brings.
How We Work With Your Builder or General Contractor
Most new-construction window work in Port Gardner comes through a builder or GC, and coordination is the whole game. Our process typically looks like this:
- Review the window schedule and plans before framing is finished, flagging any bay-facing or high-exposure openings that warrant an upgraded flashing detail or glazing package.
- Confirm rough opening sizes on site against the approved schedule — catching a framing discrepancy before drywall is far cheaper than after.
- Install windows in sequence with the WRB and siding crew, so flashing laps are done in the correct order rather than as an afterthought.
- Walk the openings with the builder or homeowner before siding closes them up, since this is the last point anyone can visually confirm the flashing detail.
- Coordinate with the city inspection schedule so the work is ready and documented when the inspector is on site.
That last point matters more than people expect. Everett's inspection process isn't a rubber stamp, and a crew that's used to how local inspections run tends to avoid the delays that come from a failed or rescheduled inspection mid-build.
What Drives Cost on a New-Construction Window Package
| Factor | Why It Moves the Price |
|---|---|
| Number and size of openings | More glass and larger units mean more material and labor |
| Frame material | Vinyl, fiberglass, and clad-wood carry different material costs |
| Glazing package | Standard dual-pane vs. upgraded or triple-pane for high-exposure walls |
| Bay or wind exposure | High-exposure openings may warrant upgraded flashing detail or hardware |
| Site access | Sloped or waterfront-adjacent lots can add time for staging and crane or lift needs |
| Timing with other trades | Tight coordination with framing and siding schedules affects labor efficiency |
We won't quote a job without seeing the plans and the lot, but broadly, new-construction window packages scale with glass area and exposure more than almost anything else. A modest, protected elevation costs a lot less to do right than a full wall of bay-facing glass — and that's true regardless of who installs it.
Why It Matters That We Already Work This Neighborhood
Port Gardner isn't a generic Everett lot. A crew that mostly works inland, wind-sheltered neighborhoods doesn't necessarily think about back-dammed sill pans or corrosion-resistant hardware as a default — because most of their jobs don't demand it. We do enough work along the Snohomish County waterfront that upgraded flashing details and salt-air-appropriate hardware aren't an upsell we have to explain from scratch; they're just part of how we spec a bay-facing build.
There's also an accountability piece. New-construction window work is largely invisible once the house is finished — the flashing, the sill pan, the fastening schedule are all behind the siding. A crew that plans to keep working in this neighborhood has every reason to get those hidden details right, because callbacks on bad flashing work are expensive in both cost and reputation, and word travels fast in a community this size.
Keeping New Windows Performing Once the Build Is Done
A correct install gets you most of the way there, but a little homeowner follow-through keeps it that way through Port Gardner's wet stretch every year:
- Rinse salt residue off frames and glass periodically, especially after storms — it's mildly corrosive if left to sit.
- Check weep holes on operable windows each fall to make sure moss or debris hasn't blocked drainage.
- Inspect exterior caulk lines around trim yearly; caulk is a secondary defense and does wear out before the flashing beneath it.
- Keep gutters and downspouts clear so roof runoff isn't sheeting down onto window heads.
- Operate hardware through its full range a few times a year so locks and cranks don't seize from disuse in the damp months.
None of this is difficult, but skipping it is how a well-installed window still ends up with an avoidable problem five years in.
Ready to Talk Through Your Build
If you're planning new construction in Port Gardner — whether you're the homeowner or the builder — we're happy to look at the plans, walk the lot, and talk through what the window package should include for this specific exposure. Reach out for a free, no-pressure estimate using the form below.