 Everett
 Living on the Water in Bayside Changes What Your Siding Has to Do
Bayside sits close enough to Port Gardner Bay and the broader Puget Sound shoreline that the air itself is part of the building envelope you're maintaining. Homes here don't just deal with rain — they deal with salt-laden marine air, wind that drives moisture sideways into joints and seams, and a wet season that stretches long enough to grow moss on anything that stays damp for too long. Siding that would hold up fine a few miles inland, away from the water, often shows its weaknesses faster here.
That's the lens we use on every Bayside job: not "what siding looks good," but "what siding, installed correctly, will still look good and perform in ten or twenty years given exactly what this neighborhood throws at it."
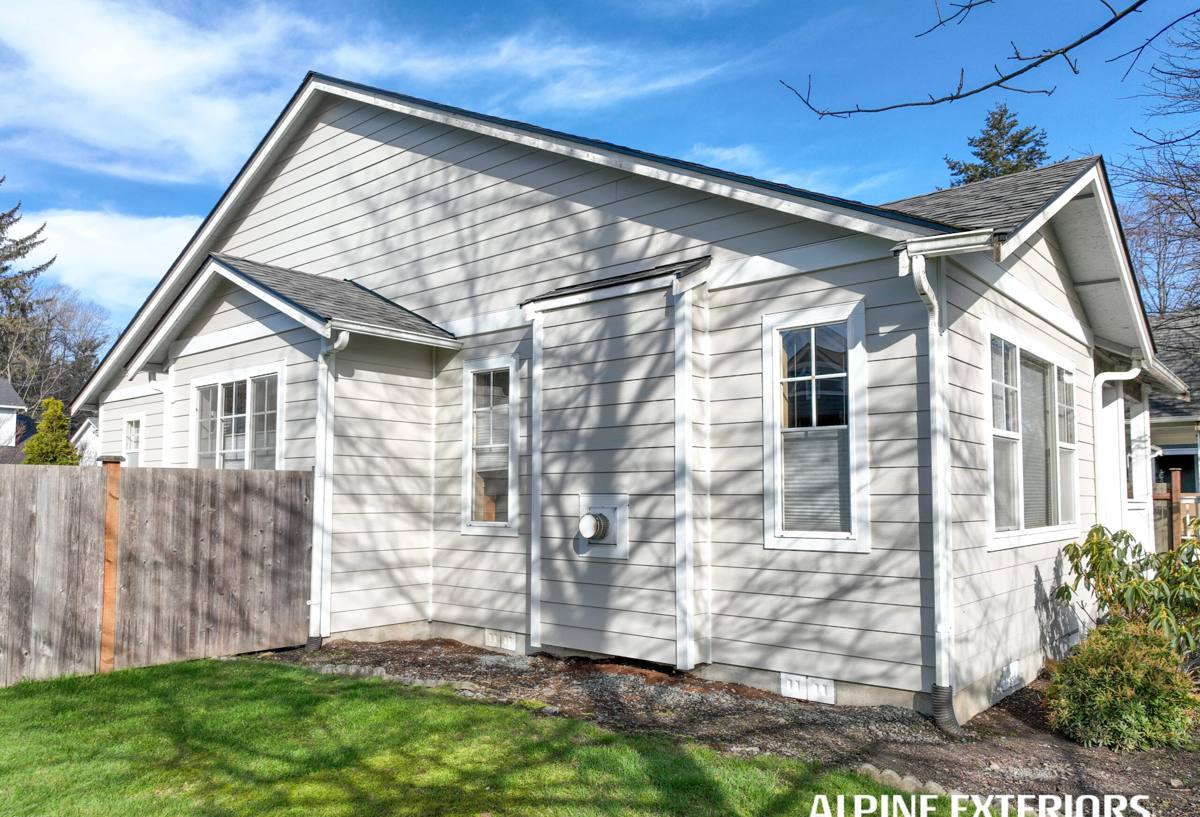
The Three Forces Working Against Your Siding in Bayside
Salt-laden air off the water
Airborne salt is corrosive to metal fasteners, trim flashing, and hardware, and it accelerates the breakdown of certain paint and coating systems. Siding materials and finishes that aren't formulated to resist it can chalk, fade unevenly, or lose adhesion years ahead of what the manufacturer's literature promises for a typical inland install.
Wind-driven, near-horizontal rain
Storms coming off the water don't just fall — they push. That means rain gets forced up under laps, into butt joints, and around window and door trim in ways that gentler, straight-down rain never tests. Every seam, overlap, and flashing detail on a Bayside home has to assume water will try to get behind it, not just run down the face of it.
A long moss and mildew season
Cool, damp, shaded conditions for much of the year mean moss, algae, and mildew have a long runway to establish themselves on any siding surface that holds moisture or traps organic debris. Once moss takes hold at a butt joint or along a lower course, it holds water against the substrate — which is exactly the kind of chronic, low-grade moisture exposure that shortens the life of a wall system.
Why Fiber Cement Outperforms the Alternatives in This Microclimate
Every siding material has a marketing story. Here's how the common choices actually behave under sustained salt air, wind-driven rain, and moss pressure — the conditions that matter for Bayside specifically.
| Material | Salt air / coastal exposure | Moisture & rot risk | Moss & algae resistance | Long-term maintenance |
|---|---|---|---|---|
| Vinyl siding | Can fade and go brittle faster under UV plus salt exposure | Panels themselves don't rot, but water gets behind them at seams with no forgiving substrate | Smooth but seams and J-channels still collect debris | Low labor, but limited repair options once faded or warped |
| Cedar / wood siding | Absorbs salt moisture readily; finish breaks down faster near water | High — wood is the most rot-prone option in a wet marine climate | High — organic material feeds moss and mildew directly | Frequent refinishing and repair to keep ahead of decay |
| LP SmartSide (engineered wood) | Better than raw cedar, but still a wood-strand product with edge-swell risk | Moderate — edges and cut ends are vulnerable if not fully sealed | Moderate — resin-treated surface helps but isn't immune | Requires diligent caulking and touch-up at every cut edge |
| James Hardie fiber cement | Non-combustible, dimensionally stable material resists salt-driven warping and cracking | Low — cement-based composition doesn't rot or swell like wood products | Low — factory-cured surface resists moss establishment better than organic substrates | Occasional wash-down; ColorPlus finish holds color without repainting cycles |
This is why we standardized on James Hardie and don't install vinyl, LP SmartSide, Cemplank, Allura, or unfinished wood siding. Every one of those products can be installed reasonably well by a careful crew — but in a marine climate like Bayside's, we've seen where each one's weak points show up first, and we'd rather not put our name on a wall system that has a known failure mode against salt air and driving rain.
What a Correct James Hardie Installation Actually Involves
The material is only half the equation. A Hardie install done to spec, in a climate like this one, means getting every detail right that keeps wind-driven water from ever reaching the wall sheathing:
- A continuous weather-resistive barrier behind the siding, lapped correctly shingle-style so water sheds outward at every seam
- Flashing integrated at every window, door, and penetration — not caulk substituted for flashing
- Correct minimum clearance between the bottom of the siding and grade, decks, or roof lines so splash-back and standing water can't wick into the plank
- Manufacturer-specified fastener pattern and type, set to the proper depth — overdriven or underdriven nails are one of the most common causes of premature siding failure
- Properly gapped and sealed butt joints, caulked with a product compatible with the ColorPlus finish
- Careful handling of factory-finished ColorPlus panels so cut edges are primed and touch-up matches rather than leaving raw, absorbent cement exposed
Skip any one of these and the plank itself can be flawless while the wall behind it still takes on water. This is where most siding problems we get called out to inspect actually originate — not in the product, but in shortcuts taken during install.
Our Process on a Bayside Job
- On-site assessment — we walk the home, check existing siding and trim condition, look for signs of past moisture intrusion, and note the home's specific exposure to wind and salt spray based on its orientation.
- Removal and substrate check — old siding comes off and we inspect the sheathing underneath before anything new goes up. This is the only real chance to catch hidden rot or moisture damage.
- Weather barrier and flashing — a full, correctly lapped weather-resistive barrier goes on first, with flashing detailed at every window, door, and penetration before a single piece of siding is hung.
- Installation — Hardie planks or panels installed to manufacturer fastening and clearance specs, with attention to consistent reveal lines and properly staggered joints.
- Trim, caulking, and touch-up — cut edges primed, joints caulked with compatible sealant, and ColorPlus touch-up applied where needed so the finish reads as one continuous color.
- Final walkthrough — we go over clearances, flashing, and finish with the homeowner before calling the job done.
Choosing the Right Hardie Line and Color for This Location
James Hardie engineers its HZ product lines for specific climate zones, and homes in the Everett area — including Bayside's direct water exposure — fall into the HZ5 zone, engineered for moisture and moderate freeze-thaw conditions rather than the drier, more temperature-extreme HZ10 zone used elsewhere in the country. Getting the zone-matched product right isn't cosmetic; it affects how the board is formulated to handle sustained moisture exposure.
On color, ColorPlus factory-applied finish matters more here than in a drier climate because it's baked on and cured under controlled conditions, which gives it better adhesion and fade resistance against UV and salt air than field-applied paint. Darker colors will show water spotting and mineral residue from salt spray a little more visibly than mid-tones, which is worth discussing during a color consultation rather than after installation.
Maintenance That Actually Matters Near the Water
- Rinse the siding down once or twice a year to remove salt residue and organic debris before it accumulates at laps and joints
- Keep gutters clear so overflow doesn't run down the face of the siding and feed moss growth
- Trim back vegetation and tree cover that keeps siding shaded and damp longer than necessary
- Check caulking at trim and joints annually — this is the first place wind-driven rain finds a way in
- Address any moss or algae growth promptly rather than letting it establish, since it holds moisture against the surface over time
Why a Crew That Already Works Bayside Matters
A contractor who mainly works drier, inland Snohomish County neighborhoods can install Hardie siding competently and still get surprised by what this waterfront exposure does over time — where wind actually drives rain on a given elevation, how much salt residue builds up between rinses, or which flashing details need extra attention because of the site's specific orientation to the water. A crew that already works Bayside has already seen how the material and the climate interact here, which shows up in fewer callbacks and a job that's built for the conditions it will actually face, not generic conditions.
Local familiarity also matters for the practical side of the job — knowing City of Everett and Snohomish County permitting requirements, working efficiently around the tighter lots and mature landscaping common in older waterfront-adjacent neighborhoods, and understanding how the housing stock in this area was originally built so tear-off doesn't turn into surprises.
What Affects Your Estimate
| Factor | Why it matters |
|---|---|
| Square footage and home shape | More corners, dormers, and trim details mean more cutting, flashing, and labor time |
| Condition of existing siding and sheathing | Hidden moisture damage found during tear-off adds repair scope before new siding can go on |
| Trim and accent detail | Board-and-batten accents, window trim upgrades, or fascia work add material and labor beyond a straight lap-siding install |
| Access and site conditions | Waterfront lots with limited staging area, slopes, or mature landscaping can affect scaffolding and material staging time |
| Color and finish selection | Custom ColorPlus colors and premium trim packages carry different material costs than standard offerings |
We walk through all of these on-site rather than quoting blind, since a Bayside home's actual exposure and condition drive the real numbers more than square footage alone.
If you're weighing a siding replacement on a Bayside home, we're happy to come take a look and give you a straightforward, no-pressure estimate — no obligation, just an honest read on what your home needs.