 Everett
 Why Bayside Homes Wear Out Siding Faster
Bayside sits close enough to Port Gardner Bay and the broader Puget Sound waterfront that homes here take a different kind of weathering than houses a few miles inland. Salt-laden air rides in on the wind off the water, driving rain gets pushed sideways into wall assemblies during winter storms, and the long gray stretch between fall and spring keeps north- and west-facing walls damp for weeks at a time. That combination is exactly what breaks down siding materials that aren't built for it.
Salt air accelerates corrosion on fasteners, trim caps, and any exposed metal flashing. Driving rain finds every gap in a weather barrier, lap joint, or butt seam that wasn't detailed correctly the first time. And moss doesn't just grow on roofs — in Everett's shaded, moisture-retentive microclimates it colonizes siding surfaces, holding water against the substrate long after a storm has passed. Over years, that's a slow, steady degradation cycle that shows up as soft spots, staining, and eventually structural rot behind the cladding.
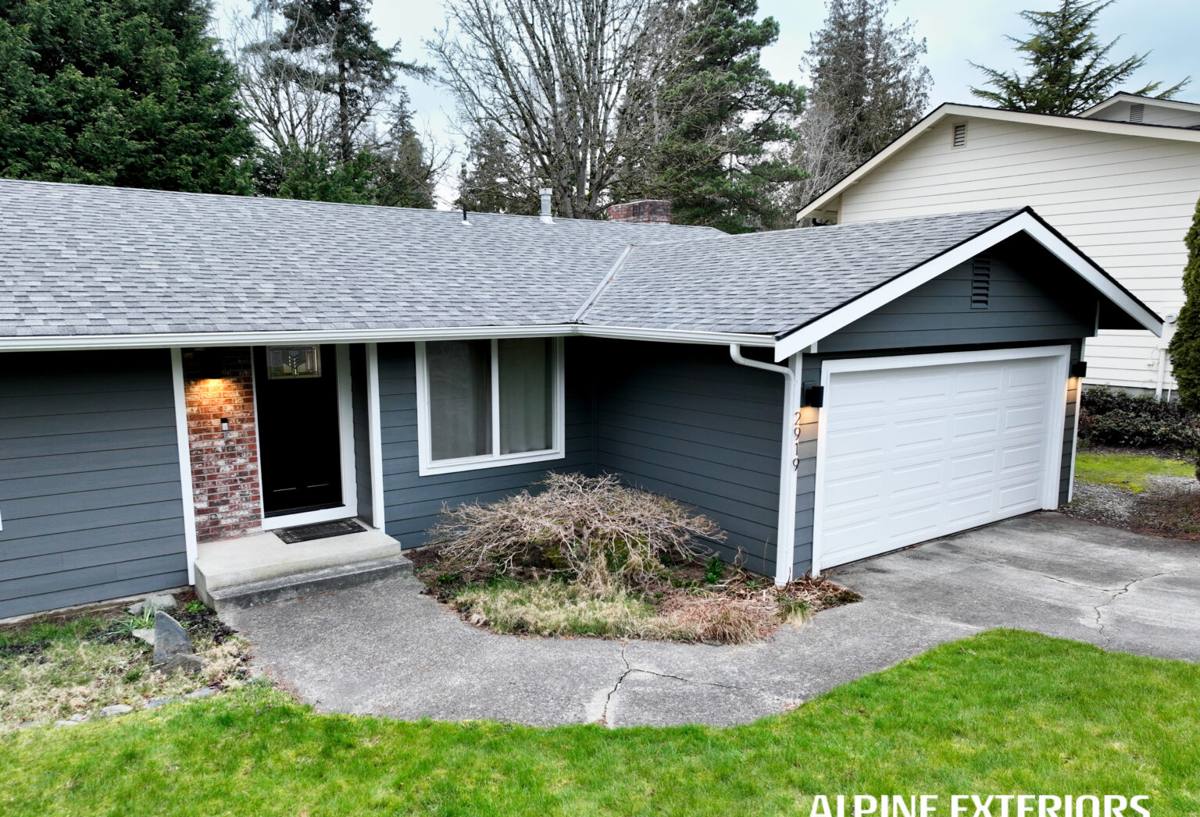
Signs a Bayside Home Needs Replacement, Not Just Repair
Not every siding problem calls for a full tear-off. But in a coastal exposure like this, certain symptoms usually mean the underlying assembly has already been compromised and patching won't hold.
- Soft, spongy, or bowing wall sections — usually water has already reached the sheathing
- Persistent moss or algae streaking that comes back within weeks of cleaning
- Visible gaps, cracking, or delamination at butt joints and corners
- Paint that won't hold — bubbling, peeling, or chalking faster than a normal repaint cycle
- Rising energy bills with no other explanation, suggesting a failed weather barrier behind the siding
- Rust streaks below nail heads or trim, a sign fasteners are corroding in the salt air
If you're seeing two or more of these at once, it's worth having someone look at the wall assembly itself, not just the visible surface. A siding that looks 70% fine on the outside can be hiding a rotten sheathing layer underneath, especially on the sides of the house that take the worst of the weather.
What a Correct Siding Replacement Actually Involves
Replacing siding well in this climate is less about the cladding itself and more about everything underneath it. The visible boards are the last layer installed and the first thing people notice, but they're not what keeps water out of the wall.
The Sequence That Matters
A proper tear-off and replacement follows a specific order, and skipping steps is where most premature failures come from:
- Full removal of old siding and inspection of the sheathing for hidden rot or soft spots
- Repair or replacement of any damaged sheathing before anything new goes over it
- Installation of a continuous, correctly lapped weather-resistive barrier
- Proper flashing at every window, door, penetration, and butt joint — this is where driving rain actually gets stopped or gets in
- Correct fastener spacing and type, matched to the siding manufacturer's specs and resistant to the corrosive coastal air
- Installation of the siding itself with correct nailing, gapping, and caulking per manufacturer instructions
Skip the flashing detail or use the wrong fastener and the new siding can look perfect for a year or two while water is already working its way back into the wall behind it. In a Bayside exposure, that timeline compresses — mistakes show up faster than they would on a sheltered inland lot.
Why We Only Install James Hardie Fiber Cement
We made a decision years ago to standardize on James Hardie fiber cement siding and stop installing vinyl, LP SmartSide, cedar, or other fiber cement brands. That's not a marketing position — it's a practical one, based on what actually holds up against wind-driven rain and salt air over decades, not just years.
| Material | How It Handles Salt Air & Moisture | Long-Term Concern in This Climate |
|---|---|---|
| Vinyl siding | Won't rot, but seams and laps can let water track behind the panel | Expands/contracts with temperature swings; can crack or warp; trapped moisture behind it goes unnoticed |
| LP SmartSide (engineered wood) | Treated to resist moisture, but it's still a wood-based substrate | Edge and cut-end exposure is a known failure point if caulking and paint maintenance lapse |
| Cedar / primed spruce | Natural material, but absorbs and releases moisture with the weather | Needs disciplined recoating and sealing; moss and mildew take hold quickly in shaded, damp walls |
| James Hardie fiber cement | Non-combustible, dimensionally stable, engineered HZ5 formulations for wet climates | Correct installation and factory ColorPlus finish are what protect the long warranty |
Hardie's HZ product line is engineered specifically for climates like ours — wet, temperate, with real freeze-thaw cycling in the shoulder seasons. The ColorPlus factory finish is baked on under controlled conditions, which holds color and resists the fading and chalking that field-applied paint struggles with on a house exposed to salt air. It's also non-combustible, which matters given Washington's wildfire seasons even on the wet side of the state. We're not saying other products can't perform under ideal conditions — we're saying we don't want to bet a homeowner's investment on ideal conditions holding for 30 years next to the water.
Our Process, Start to Finish
Every Bayside project follows the same core process, adjusted for the specific house:
1. On-Site Assessment
We walk the exterior, check for soft spots, look at flashing and trim condition, and identify which walls are taking the worst weather exposure. This tells us whether we're looking at a straightforward re-side or a job that needs sheathing repair first.
2. Written Estimate
You get a clear, itemized estimate — material, labor, and any sheathing repair allowance — before any work starts. No surprise change orders for things we could have caught during the assessment.
3. Tear-Off and Inspection
Old siding comes off, sheathing gets inspected and repaired as needed, and we document anything unexpected we find before covering it back up.
4. Weather Barrier and Flashing
This is the step that determines how the house performs in year 10, not just year one. We install and lap the weather-resistive barrier correctly and flash every penetration.
5. Hardie Installation
Siding goes on per James Hardie's installation specs, which is also what keeps the manufacturer's warranty intact — installation errors are one of the most common ways homeowners unknowingly void warranty coverage.
6. Final Walkthrough
We walk the finished job with you, point out what was done, and answer questions before calling it complete.
What Siding Replacement Typically Costs — and Why It Varies
Every house is different, and we won't quote a number without seeing the home, but these are the main factors that move the price up or down on a Bayside project:
| Cost Factor | Why It Matters |
|---|---|
| Sheathing condition | Hidden rot found at tear-off adds repair scope that can't be priced sight-unseen |
| Home size and wall complexity | More corners, gables, and trim details mean more labor and cut waste |
| Siding profile selected | Lap, shingle, and panel Hardie products have different material and install costs |
| Trim and accessory scope | Fascia, soffit, and window trim replacement often gets bundled with a re-side |
| Access and site conditions | Tight lots, retaining walls, or limited staging area near the water can affect labor time |
The only way to get a real number is a walk-through — anyone quoting a firm price over the phone for a coastal Everett home hasn't actually seen what they're bidding on.
Why a Crew That Already Works in Bayside Matters
Siding contractors who mostly work inland don't always think about salt air corrosion on fasteners, or how much worse a north-facing wall's moss problem gets when it's also catching bay wind. A crew that regularly works Snohomish County's waterfront neighborhoods already knows which walls on a given lot orientation take the worst of it, which flashing details actually hold up here, and why cutting corners on the weather barrier shows up faster in this exposure than it would twenty minutes inland. That local pattern recognition is the difference between a job that looks right at handoff and one that still looks right in year fifteen.
Keeping New Siding Performing After Installation
Correctly installed Hardie siding is low-maintenance, not zero-maintenance. A short annual routine keeps it performing the way it's designed to:
- Rinse down walls annually, especially shaded or north-facing sides prone to moss
- Check caulking at trim joints and penetrations for cracking or gaps
- Keep gutters clear so overflow isn't running down the wall face
- Trim back vegetation that keeps a wall section shaded and damp
- Have any impact damage (a stray branch, equipment bump) inspected promptly rather than left to weather further
If you're seeing moss buildup, soft siding, or paint that won't hold on a Bayside home, we're happy to take a look and give you a straight assessment — no pressure, no obligation. Use the form below to request a free estimate.