 Everett
 Building New in West Everett? The Windows Need to Match the Climate, Not Just the Plans
West Everett sits close enough to Port Gardner Bay and the Sound that salt-laden air is a daily fact of life, not an occasional nuisance. Add Snohomish County's long, wet fall-through-spring stretch and the moss season that follows it, and new-construction windows here are doing a harder job than the same product would do fifty miles inland. When we install new-construction windows on a home going up in West Everett, we're not just fitting glass into rough openings — we're building a water-management system around every one of those openings that has to hold up for decades in a marine climate.
"New-construction" windows are a different category from replacement windows, and the distinction matters most in exactly this kind of weather. Get it right at the framing stage and you get a window system that sheds water, resists salt corrosion, and never gives moss and mildew a foothold. Get it wrong, and the problems don't show up as a drafty window — they show up as rot inside the wall cavity two or three years later, hidden behind drywall and trim.
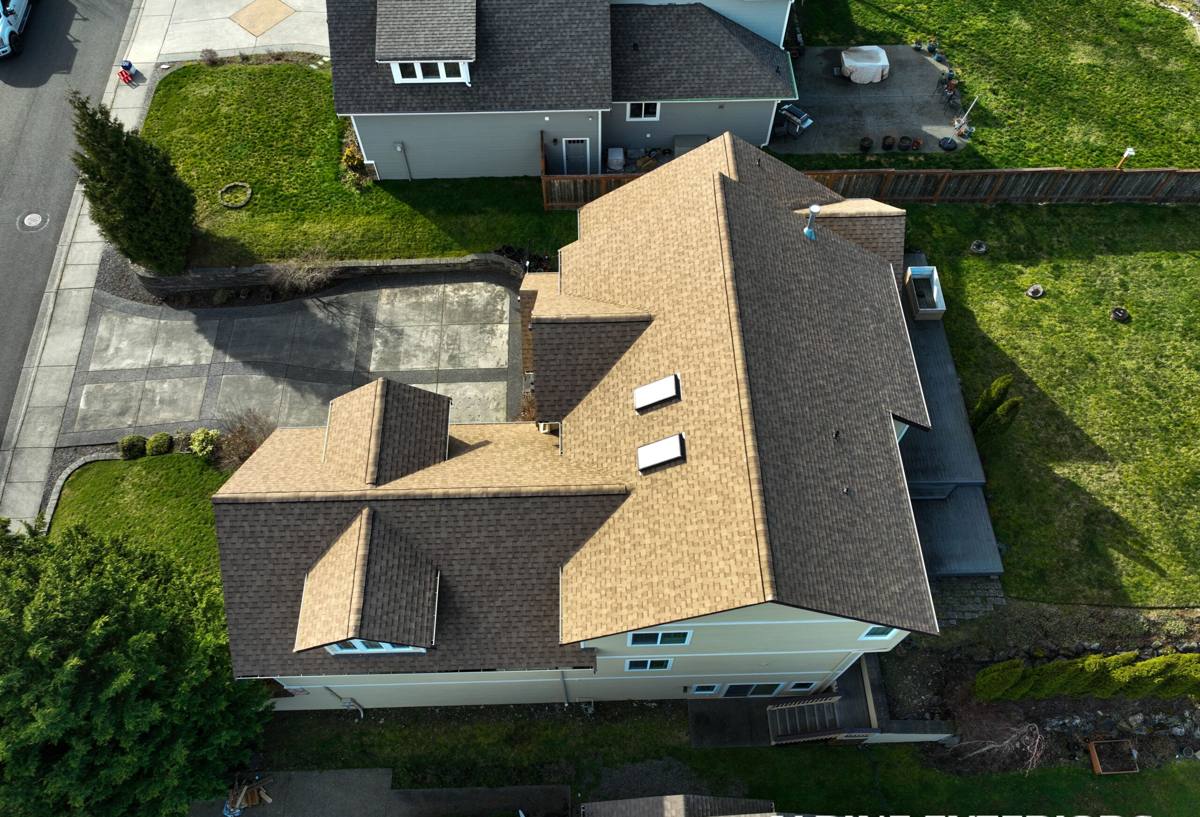
What Driving Rain, Salt Air, and Moss Season Actually Do to a Window Opening
Driving Rain
Everett's storms don't just fall straight down — wind off the water pushes rain sideways into the building envelope, especially on west- and south-facing walls. A window opening that isn't flashed to shed water outward and downward, in the correct shingle-lap sequence, will eventually let wind-driven rain track behind the siding and into the sheathing.
Salt Air
Airborne salt accelerates corrosion on fasteners, hardware, and metal flashing. It also degrades cheaper finishes and coatings faster than they'd wear inland. Materials and hardware that are rated for coastal exposure aren't optional upgrades here — they're the baseline for a window system that's supposed to last the life of the house.
Moss and Sustained Moisture
Snohomish County's moss season is really just shorthand for months of sustained dampness and low sun exposure. Anywhere water can pool, linger, or get trapped — a poorly sloped sill, a gap in the drainage plane, a caulk joint doing a flashing's job — moss, algae, and mildew will move in. That's a cosmetic problem on siding, but around a window opening it's often a sign that water is sitting where it shouldn't be.
None of this means West Everett needs exotic materials. It means the installation details — the ones nobody sees once the trim goes on — have to be done correctly and in the right order, every time.
New-Construction vs. Replacement Windows: Why the Distinction Matters Here
New-construction windows have a nailing fin and are installed into an open rough opening before siding goes on, which means the flashing and drainage plane can be built correctly from the sheathing out. Replacement (pocket) windows go into an existing frame after the fact, which limits how much flashing correction is possible. On a new build or an addition, you have the one chance to get this right before the wall is closed up — which is exactly why the framing-stage details below matter so much more than they would on a simple window swap.
| Factor | New-Construction Window | Replacement (Pocket) Window |
|---|---|---|
| Installed into | Open rough opening, before siding | Existing frame, after siding is in place |
| Flashing access | Full access to sheathing and drainage plane | Limited to what the existing frame allows |
| Best suited for | New builds, additions, major remodels | Swapping out an old window in a sound frame |
| Long-term coastal performance | Highest, when flashed correctly | Good, but dependent on the original frame's condition |
What a Correct New-Construction Window Installation Involves
This is the part of the job that determines whether a window performs for 25 years or fails quietly behind the wall. In a marine climate like Everett's, we treat every step below as non-negotiable, not optional:
- Sill pan flashing — a sloped, dammed pan under the rough opening that directs any water that gets past the window straight back outside, instead of into the wall.
- Correct flashing shingle-lap sequence — house wrap, sill flashing, jamb flashing, and head flashing installed in the right order so every layer sheds water onto the layer below it, never the reverse.
- Back dam and end dams at the sill to stop water from migrating sideways or backward under the window.
- Corrosion-resistant fasteners and flashing tape rated for coastal salt exposure — not the cheapest option in the supply house.
- Continuous drainage plane integration — the window's flashing has to tie into the house wrap or weather-resistive barrier without gaps, seams, or reverse laps.
- Proper shimming and square check — an out-of-square window stresses the frame, strains hardware, and can compromise the seal over time.
- Low-expansion foam or backer rod and sealant at the interior gap — insulated without over-filling, which can bow the frame.
- Exterior sealant at the correct joints only — sealant is a backup, never a substitute for proper flashing.
Skip any one of these and the window itself can be top quality and still fail early — because the water problem was never actually solved, just hidden.
Window Materials and Glass for West Everett's Conditions
There's no single "best" window material — the right call depends on the home's design, budget, and exposure. What we do steer clients away from in high-salt, high-moisture settings are frame and hardware combinations known for corrosion or moisture-related maintenance headaches over time, not because a brand is bad, but because some finishes and metals simply don't hold up as well in salt air as others.
| Frame Material | Coastal / Wet-Climate Notes |
|---|---|
| Vinyl | Good moisture and corrosion resistance, low maintenance, wide price range; quality varies a lot between manufacturers |
| Fiberglass | Excellent dimensional stability and corrosion resistance; higher upfront cost, strong long-term value in marine climates |
| Wood / Wood-clad | Best appearance for some architectural styles; needs a cladding or finish that's genuinely rated for coastal exposure, plus ongoing maintenance |
| Aluminum | Strong and slim sightlines; needs a marine-grade finish and careful hardware selection to resist salt corrosion |
On glass, we generally recommend a Low-E coated, argon-filled dual- or triple-pane unit for this climate — it manages heat loss during our long wet, gray stretch and cuts condensation risk, which matters when interior humidity meets a cold glass surface for months at a time. Beyond frame and glass, hardware finish matters more here than in a drier climate — corrosion-resistant hinges, locks, and rollers are worth the upgrade.
Our Process for New-Construction Window Installs
- Plan review and product selection — we look at elevations, exposure direction, and the architect's or builder's specs to recommend frame material and glass package suited to that specific opening and orientation.
- Rough opening inspection — before any window goes in, we confirm the opening is framed square, sized correctly, and the sheathing is sound.
- Sill pan and flashing installation — built and sequenced per the details above, adapted to the specific siding and wrap system on that home.
- Window setting, shimming, and fastening — set square and plumb, fastened per manufacturer spec so the warranty stays intact.
- Interior and exterior sealing — insulated and sealed at the correct points, never used as a substitute for flashing.
- Final inspection and documentation — we check operation, seal integrity, and flashing tie-in before the siding crew closes the wall.
Cost Factors for New-Construction Windows
Every project prices out differently, but the factors that move the number most on a West Everett job are consistent. We'll walk through actual numbers for your project during a free estimate — this is just what tends to drive the range.
| Factor | Why It Affects Cost |
|---|---|
| Frame material | Vinyl, fiberglass, and wood-clad options carry different material and labor costs |
| Glass package | Triple-pane, upgraded Low-E coatings, and impact-rated glass add cost over standard dual-pane |
| Window count and sizing | Larger openings, custom shapes, and higher counts increase both materials and labor |
| Wall assembly complexity | Multiple siding types, deep overhangs, or complex flashing details add install time |
| Access and staging | Second-story or hard-to-reach openings take more time and equipment |
A Homeowner or Builder's Checklist Before Hiring
- Ask specifically how sill pan flashing and shingle-lap sequencing will be handled — not just "yes we flash windows."
- Confirm the crew uses corrosion-resistant fasteners and flashing tape rated for coastal exposure.
- Get the frame material and glass spec in writing, matched to your home's exposure direction.
- Ask whether the installer follows the window manufacturer's install instructions to the letter — deviating can void the warranty.
- Confirm licensing, bonding, and insurance, and ask for references from other Everett-area or Snohomish County new-construction jobs.
- Ask what happens if the rough opening isn't square or sound when they arrive — a good crew has a clear answer, not a shrug.
Why Local Experience in West Everett Actually Matters
A window crew that already works Snohomish County's marine climate has made the adjustments that don't come from a manufacturer's install manual — how much extra attention a west-facing wall needs, which flashing sequence actually holds up through a wet winter here, and where moss and algae tend to show up first when a detail was missed. That's the difference between a crew installing windows and a crew installing windows for this specific place. On new construction, where the flashing and drainage details are only accessible once, that local judgment is worth more than it looks like on paper.
If you're planning a new build, addition, or major remodel in West Everett, we're happy to walk the plans with you and give you a straightforward, no-pressure estimate — just fill out the form below.