 Everett
 Siding Replacement in Riverside: What Local Homes Are Up Against
Riverside is one of Everett's older, established residential neighborhoods, and that means a lot of the homes here are wearing siding that was installed decades ago — sometimes more than once. Between the Snohomish River corridor, the marine air moving in off Puget Sound, and Western Washington's long wet season, siding in this part of Everett takes a steady beating that homeowners a hundred miles inland never have to think about. Salt-laden air accelerates corrosion on fasteners and trim. Driving rain off the water finds every gap in a wall system that wasn't detailed correctly. And the moss and algae season here runs long — often eight or nine months out of the year — which means any siding product that can't shed moisture and resist organic growth is fighting a losing battle from day one.
This page is about one thing: replacing siding on a Riverside home the right way, with a product and installation approach built for exactly these conditions.
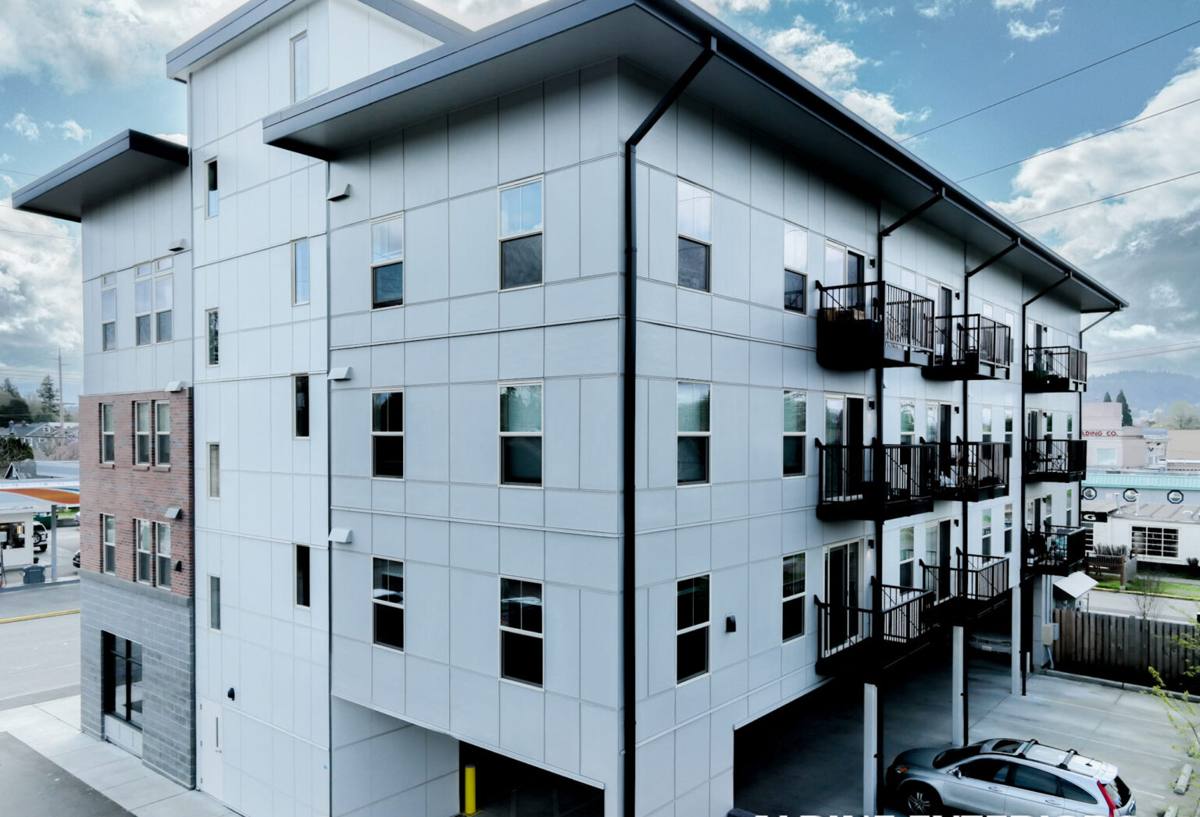
Signs a Riverside Home Needs Siding Replacement, Not Just Repair
Not every siding problem calls for a full tear-off. But in this neighborhood's climate, small issues tend to compound quickly once moisture gets behind the cladding. Here's what tells us a home has crossed the line from "repairable" to "replace it now."
- Soft, spongy, or crumbling spots when you press on the siding, especially near the bottom courses and around window trim
- Paint that won't hold — you repainted within the last few years and it's already peeling, bubbling, or chalking
- Visible cracking, warping, or delamination, particularly on the south and west-facing walls that take the most weather
- Persistent moss or black algae streaking that comes back within a season of cleaning
- Gaps opening up at seams, corners, or where siding meets trim, window, and door casings
- A musty smell in an exterior wall, or interior drywall staining near an outside wall — a sign moisture has already gotten past the siding
- Rising energy bills with no other explanation, which often points to a wall assembly that's no longer doing its job
If you're seeing more than one or two of these, it's worth having someone look at what's happening behind the siding, not just at the surface.
Why Correct Installation Matters More Here Than in Drier Climates
A siding replacement is really a wall waterproofing project that happens to also determine how your house looks. In Snohomish County's climate, the difference between a job that lasts twenty-plus years and one that fails in five almost never comes down to the siding material alone — it comes down to what's underneath it. A correct job includes a continuous weather-resistive barrier, properly lapped and taped house wrap, flashing at every window, door, and roofline intersection, and a rain screen gap that lets any moisture that does get in dry out instead of sitting against the sheathing.
Salt air adds another layer to this. Fasteners, flashing, and trim hardware that aren't rated for coastal-adjacent exposure corrode faster here than the manufacturer's national warranty language assumes. We spec corrosion-resistant fasteners and flashing on every Riverside job for this reason — it's a small line item that prevents a big problem ten years down the road.
What "Correct" Actually Looks Like on the Wall
| Layer | What It Does | Why It Matters in Riverside |
|---|---|---|
| Weather-resistive barrier | Stops bulk water from reaching the sheathing | Handles wind-driven rain off the river and Sound |
| Flashing at penetrations | Directs water away from windows, doors, and roof lines | Prevents the hidden leaks that cause rot behind trim |
| Rain screen gap | Lets moisture that gets past siding dry out | Critical during the long wet, low-sun-exposure months |
| Corrosion-resistant fasteners | Holds siding through decades of expansion/contraction | Salt air corrodes standard hardware faster than inland areas |
| Factory-cured finish | Resists cracking, peeling, and moss adhesion | Stands up to Everett's near year-round moisture exposure |
Why We Install James Hardie Fiber Cement — and Nothing Else
We made a decision a long time ago to install one siding system: James Hardie fiber cement. Not because it's the cheapest option on the shelf, but because in a climate like Everett's, the material itself has to do a lot of the work that installation alone can't fix.
Fiber cement is non-combustible, which matters increasingly as wildfire smoke and ember exposure become a bigger part of Pacific Northwest summers. It doesn't absorb water the way wood-based products can, so it resists the rot and swelling that show up on siding exposed to driving rain year after year. And Hardie's ColorPlus factory finish is baked on and cured under controlled conditions — it holds color and resists the peeling and chalking that field-applied paint struggles with in our humidity. That last point matters a lot in a neighborhood where repainting siding every few years is a real, recurring cost most homeowners would rather not have.
Hardie also engineers its HZ5 product line specifically for wetter, colder climate zones like ours, with moisture management built into the product itself rather than left entirely to installation technique. Combined with a transferable, long-term warranty, it's a system we're comfortable standing behind on every home we touch — including the ones with a hundred feet of exposed river wind hitting them.
What a Full Siding Replacement Involves
A proper replacement isn't just pulling off old siding and nailing up new boards. On a Riverside home, our process typically covers:
- Tear-off and inspection — removing the old siding and trim to expose the sheathing, checking for rot, soft spots, or prior water damage that needs to be addressed before anything new goes up
- Sheathing repair — replacing any damaged OSB or plywood found during tear-off, since covering rot with new siding just hides the problem
- Weather barrier installation — a continuous, properly lapped and taped house wrap system
- Flashing — at every window, door, deck ledger, and roof-to-wall intersection
- Rain screen furring — creating the drainage gap that lets the wall assembly dry
- Hardie panel or lap siding installation — to manufacturer spec, with correct fastener spacing, gapping for expansion, and corrosion-resistant hardware
- Trim, caulking, and touch-up — finishing details that determine how well the whole system sheds water long-term
Skipping or rushing any one of these steps is usually where a siding job starts failing early — and it's rarely visible until years later when the damage is already done.
Our Process From Estimate to Finished Job
We start with a walk-around of the home to assess the existing siding, look for signs of moisture intrusion, and talk through what you're seeing and what concerns you. From there we put together a written estimate that spells out scope, product, and timeline — no vague allowances. Once a project is scheduled, tear-off and any sheathing repair happen first, since that's where we find out whether the wall behind the old siding is in the condition we expected. The weather barrier, flashing, and rain screen go in next, followed by the Hardie siding itself, then trim and final detail work. We keep the site cleaned up daily and walk the finished job with you before we call it done.
Weather in this area means we plan around the wetter months when possible and stage tear-off so a home isn't left exposed longer than necessary — that planning matters more here than it would in a drier climate.
What Drives the Cost of a Siding Replacement
| Factor | Why It Moves the Price |
|---|---|
| Home size and wall complexity | More square footage and more corners, gables, and dormers mean more material and labor |
| Condition of the sheathing underneath | Rot or water damage found during tear-off adds repair scope before new siding can go on |
| Siding profile chosen | Lap siding, panel systems, and shingle-style Hardie products carry different material and install costs |
| Trim and detail work | Window and door trim, fascia, and corner detailing add labor beyond the flat wall areas |
| Access and site conditions | Steep grades, tight setbacks, or landscaping near the foundation can slow staging and scaffolding |
We give exact numbers after seeing the home in person — anything else is a guess that ends up being wrong in one direction or the other.
Why Hiring a Crew That Already Works in Riverside Matters
A crew that's replaced siding on homes throughout Everett and Snohomish County has already seen how this specific stretch of climate behaves — where wind-driven rain hits hardest, which orientations grow moss fastest, and how older homes in established neighborhoods like Riverside were typically built and where their wall assemblies tend to have weak points. That local pattern recognition shortens the guesswork during tear-off and means fewer surprises mid-project. It also means we're not learning coastal-adjacent detailing on your house — the flashing, fastener, and moisture management decisions are ones we make the same way on every job in this area, because we've seen what happens when they're skipped.
Keeping New Siding Performing for the Long Run
Once new Hardie siding is installed correctly, it doesn't ask for much — but a little attention keeps it looking and performing its best through Everett's wet seasons.
- Rinse the exterior once or twice a year to keep moss and algae from taking hold, especially on shaded, north-facing walls
- Keep gutters clean and downspouts directed away from the foundation so water isn't sheeting down the siding
- Trim back landscaping so foliage isn't holding moisture against the wall
- Recaulk around windows and trim if you notice gaps opening up over time
- Walk the exterior after major windstorms to check for any loose trim or fastener issues
If you're seeing signs of wear on your Riverside home's siding, or you're just planning ahead, we're happy to take a look and walk you through what we're seeing — no pressure, no obligation. Reach out for a free estimate using the form below.