 Everett
 Why Siding Repair Looks Different in North Everett
North Everett is one of the older, more established parts of the city, and that shows up in the siding stock. On any given block you'll find homes with original wood lap or cedar shingle siding, mid-century vinyl retrofits, older fiber cement that predates today's engineered products, and the occasional newer install done to a mixed standard. When we get a repair call here, we're rarely walking into a single, predictable problem. We're walking into a specific house with a specific siding age, a specific exposure to wind and moisture off the water, and a repair history we usually can't see until we open things up.
That's the honest starting point for any siding repair conversation in this neighborhood: the fix has to match the house, not a generic checklist. What follows is what we actually look at, what correct repair work involves, and why the material we use to make the repair matters as much as the labor.
What the Local Climate Actually Does to Siding
Salt Air and Coastal Wind
Homes in North Everett sit close enough to Port Gardner Bay and the broader Puget Sound shoreline that salt-laden air is a real, ongoing factor — not an occasional event. Salt air accelerates corrosion on exposed fasteners, staples, and metal trim, and it breaks down paint films faster than it would inland. Over years, that corrosion is often the hidden cause behind siding that looks fine from the street but has failing attachment points underneath.
Driving Rain and Wind-Driven Moisture
Everett gets a lot of rain, but the damaging part isn't just volume — it's direction. Wind off the Sound regularly drives rain sideways into wall assemblies, pushing water past laps and seams that would stay dry in a calmer climate. Siding that's slightly out of alignment, under-lapped, or missing proper flashing details doesn't fail gradually here; it fails at the first hard wind-driven storm of the season.
Moss, Algae, and a Long Shade Season
Snohomish County's tree cover and long wet season give moss and algae a wide window to establish themselves on north-facing and shaded wall sections. Moss holds moisture directly against the siding surface for months at a time, which is a slow but very real contributor to rot in wood substrates and finish breakdown in painted materials.
Common Repair Issues We Find in North Everett Homes
The right repair approach depends heavily on what's actually on the wall. Here's how the common siding types in this neighborhood tend to fail, and what a correct repair looks like for each.
| Siding Type | Typical Issue Locally | Root Cause | Correct Repair Approach |
|---|---|---|---|
| Original wood lap or cedar shingle | Soft spots, cupping, paint failure | Moisture cycling, moss retention, aging fasteners | Remove and assess framing beneath; replace affected boards rather than caulk over soft wood |
| Vinyl | Cracking, warping, gaps at seams | Wind-driven rain forcing water behind panels, UV and temperature cycling | Full section replacement — vinyl can't be reliably patched without visible seams and continued water entry |
| Older fiber cement (non-Hardie) | Edge swelling, finish chalking, joint failure | Inconsistent factory finish quality, poor original flashing detail | Cut back to sound material, correct flashing, and rebuild the section to spec |
| Engineered wood (LP-type) | Edge delamination, swelling at butt joints | Moisture wicking into cut edges and fastener points | Replace affected panels; treat and seal all new cut edges before install |
What a Correct Siding Repair Actually Involves
A lot of "siding repair" in this climate is done wrong not because the crew is careless, but because it's faster to patch the visible symptom than to diagnose the cause. A repair that actually holds up in North Everett's weather involves a few non-negotiable steps:
- Removing enough surrounding material to see what's actually happening behind the cladding, not just at the visible damage point
- Checking the weather-resistive barrier and flashing details in that section — a lot of failures trace back to a flashing gap, not the siding itself
- Identifying whether fastener corrosion (common with salt air exposure) contributed to the failure, and replacing hardware accordingly
- Matching material, profile, and — where possible — factory finish so the repair doesn't stand out or create a future maintenance mismatch
- Confirming adjacent, undamaged sections aren't showing early signs of the same problem before calling the job done
Skipping any of these steps usually means the same repair call comes back in a year or two, just a few feet over from where it started.
Our Repair Process
- Inspection and diagnosis. We look at the damaged area and the surrounding wall assembly, not just the spot you noticed. In North Everett that almost always includes a check of fastener condition and flashing at the affected section.
- Written scope and quote. You get a clear explanation of what we found, what needs to happen, and what it costs before any work starts — no verbal estimates that change once the wall is open.
- Opening up and confirming the damage. Once we remove the affected material, we confirm the scope matches what we quoted. If it's worse (or better) than expected, we tell you before proceeding.
- Repair or replacement of the affected section. Framing repairs if needed, correct flashing and water management, then new siding material installed to spec.
- Finish and quality check. We confirm the repaired section is sealed, aligned, and — as much as physically possible — a clean match to the surrounding wall.
Repair or Replace? Signs to Watch For
Not every siding problem is a repair job, and not every repair job should turn into a full replacement sales pitch. Here are the honest signals that tell you which side of that line you're on:
- Soft or spongy spots in more than one area of the wall, not just an isolated impact point
- Moss or mildew that returns within a season or two despite cleaning
- Paint or finish failure spread across multiple wall faces rather than one localized section
- A history of two or more prior patch jobs in the same general area
- Visible buckling, warping, or gaps that have appeared gradually over several years
- Moisture, staining, or odor showing up on interior walls near an exterior problem area
If you're only seeing one or two of these, a targeted repair is usually the right call. If several apply across the house, we'll tell you that plainly rather than repairing a wall that's going to keep failing.
Why Every Repair We Do Uses James Hardie
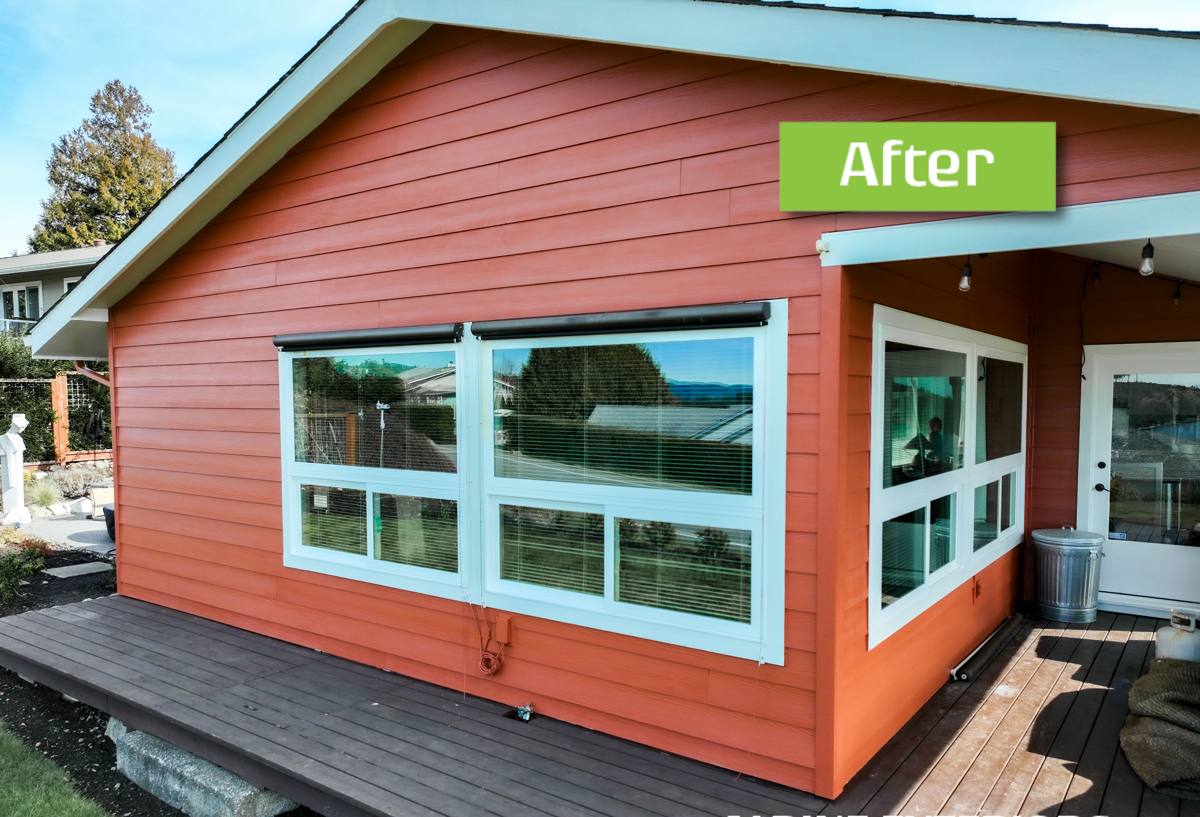
Everett Exterior installs only James Hardie fiber cement siding — no vinyl, no LP SmartSide, no Cemplank or Allura, no primed spruce or cedar. That standard applies to repair work too, not just full re-sides. When we're replacing a damaged section, we install Hardie's HZ5 line, which is engineered specifically for cold, wet climates like ours, and we use the factory ColorPlus finish rather than field-applied paint wherever a color match allows it.
There's a practical reason we hold this line even on smaller repairs: fiber cement doesn't share the same moisture behavior, expansion characteristics, or fastener requirements as vinyl or engineered wood. Mixing a patch material into an existing wall — even matching the original product — often means matching a product with known long-term trade-offs in this climate: moisture sensitivity at cut edges, finish that weathers unevenly compared to a factory coating, or a shorter realistic service life given the salt air and rain exposure here. We'd rather do a repair once, correctly, with a non-combustible material backed by a strong transferable warranty, than patch a wall with something we know is likely to be back on our schedule in a few years.
Why Local Experience in North Everett Matters
A repair crew that already works this neighborhood isn't guessing at what's under the siding — they've seen the pattern of failures that come from Snohomish County's rain direction, the salt exposure closer to the water, and the moss growth that shaded lots deal with for much of the year. That experience shows up in small but meaningful ways: knowing to check fastener corrosion before assuming a panel itself has failed, knowing which wall orientations on a given lot take the worst of the wind-driven rain, and having handled enough ColorPlus color matches to know what's realistic versus what will stand out. It also means a faster, more accurate diagnosis on the first visit, instead of a repair that gets revised once the wall is opened up.
Maintaining Your Siding Between Repairs
A good repair buys you time, but a few habits stretch that time further in this climate:
- Clean moss and algae off shaded wall sections before it builds up a season's worth of retained moisture
- Check and clear gutters and downspouts each fall — overflow onto siding is one of the most common causes of localized rot we see
- After any significant wind storm, do a quick visual check for lifted panels, loose trim, or new gaps at seams
- Avoid high-pressure washing directly into siding seams and trim joints, which can force water behind the cladding
- Have any recurring stain, soft spot, or paint failure looked at early — these are cheaper to address as a repair than as a replacement
If you're dealing with a specific problem area on your North Everett home, or you just want an honest opinion on whether it's a repair or something bigger, we're happy to take a look. Estimates are free, there's no pressure, and you'll get a straight answer either way — use the form below to get started.