 Everett
 New-Construction Windows: A Different Job Than Replacement
"New-construction windows" isn't a marketing term — it's a specific installation method used when a home is being framed, added onto, or opened up to the studs. Unlike replacement windows, which slide into an existing finished opening with minimal disturbance to siding and trim, new-construction windows have a nailing fin (or flange) around the perimeter that gets fastened directly to the sheathing before the weather-resistive barrier and siding go on. That difference matters more than most homeowners realize, because it changes how water is managed at the opening for the entire life of the wall assembly.
For builders and homeowners working on additions, garage conversions, or full new builds in the Lynnwood area near Everett, getting this stage right is not optional. Windows installed at the framing stage become part of the structural weatherproofing system, not just a fixture dropped into a finished wall. A mistake here doesn't show up as a drafty window — it shows up years later as rot inside the wall cavity, often after the damage is already extensive.
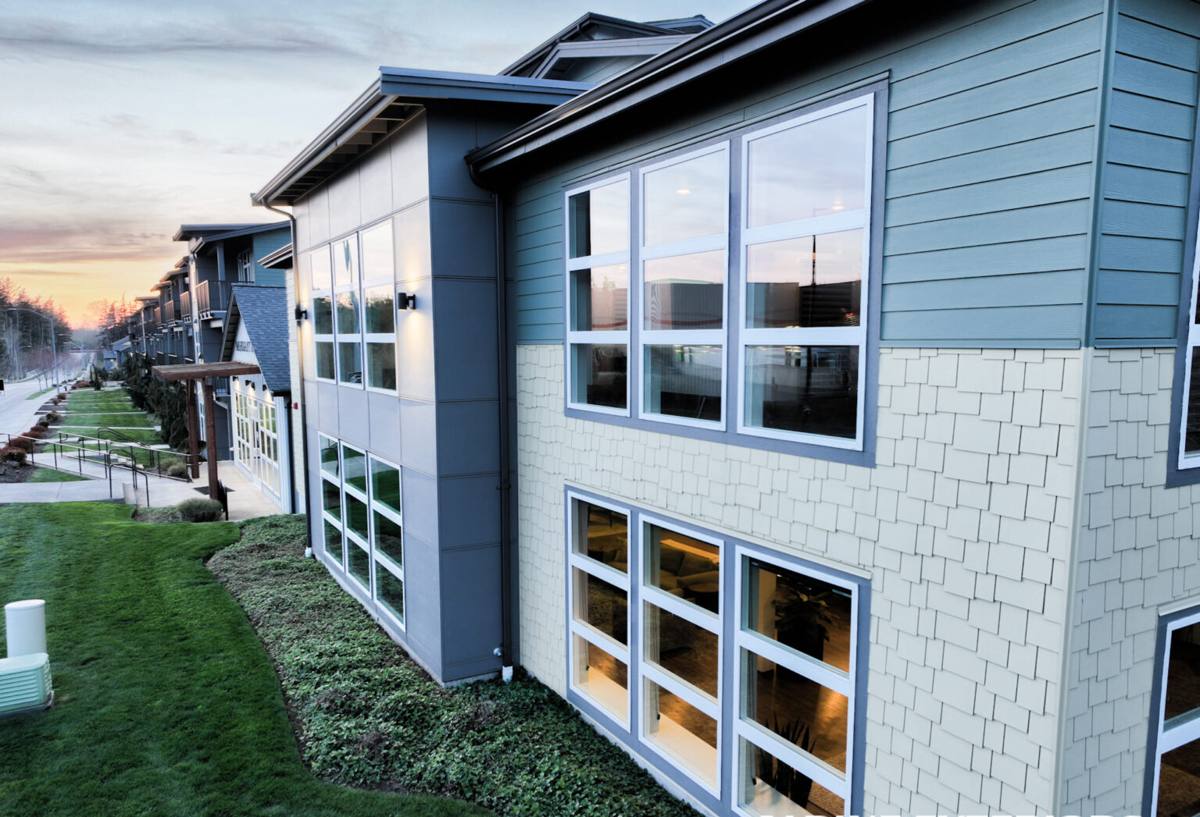
Why Lynnwood's Climate Raises the Stakes
Snohomish County sits in a stretch of the Puget Sound region where three things combine to punish window openings that weren't detailed correctly: salt-laden marine air, sustained driving rain events, and a moss season that runs long and wet for much of the year. None of these are dramatic on their own, but together they create near-constant low-grade moisture exposure on the exterior envelope.
Driving rain — rain pushed sideways by wind rather than falling straight down — is the real test of a new-construction window installation. It's what finds the gaps in flashing laps, the missed sealant bead, or the sill pan that wasn't sloped to drain. A window that would perform fine in a drier climate can leak within a few seasons here if the water management details around the nailing fin aren't done in the correct order. Salt air adds a slower, corrosive stress on fasteners and hardware, which is part of why we pay attention to fastener material and hardware finish on jobs closer to open water. Moss and organic growth thrive in the shaded, damp conditions common on the north and west sides of homes in this area, and they hold moisture against trim and flashing longer than homeowners expect, which is one more reason the flashing itself — not just the caulk — has to do the real work of keeping water out.
What a Correct New-Construction Installation Actually Involves
There's a sequence to this, and skipping steps or doing them out of order is how leaks start. On every new-construction window we install, the process follows the same water-management logic regardless of window brand:
- Rough opening is checked for square, level, and correct sizing before the window ever arrives on site
- A sloped sill pan is installed at the bottom of the opening so any water that gets past the window drains back out, not into the wall
- Self-adhered flashing membrane is applied at the sill and jambs before the window is set, following a strict shingle-lap order so water always sheds downward and outward
- The window is set, leveled, and fastened through the nailing fin per the manufacturer's schedule
- Head flashing is installed last, lapping over the weather-resistive barrier so it directs water out and over everything below it
- Low-expansion foam or approved insulation seals the gap between the frame and rough opening — not spray foam that can bow the frame
- Interior air sealing is completed separately from exterior water sealing, since the two do different jobs
Every one of those steps has a "right order" and a "wrong order," and the wrong order is often invisible once siding goes back on. This is the part of the job that separates a window installation that lasts twenty-plus years from one that starts causing hidden problems in five.
Nail-Fin vs. Block-Frame: Choosing the Right Method
Most new construction in this region uses nail-fin (flange) windows because the method integrates cleanly with standard WRB and siding sequencing. Block-frame windows, which install into a finished masonry or existing opening, aren't typically the right choice for framed wood construction and come with different flashing requirements. We'll tell you plainly which method fits your project rather than defaulting to whatever's easiest to install.
Frame Material Comparison for New Builds
Material choice affects long-term performance differently in a marine climate than it would somewhere dry and inland. Here's how the common options stack up for new-construction use in the Everett and Lynnwood area:
| Frame Material | Moisture Behavior | Maintenance | Typical Fit |
|---|---|---|---|
| Vinyl | Won't rot or corrode; dimensionally stable in wet cycles | Low — occasional cleaning | Cost-conscious builds, additions, most residential new construction |
| Fiberglass | Excellent stability in temperature and moisture swings; low expansion/contraction | Low | Higher-end new builds, larger openings, energy-focused projects |
| Wood-clad | Cladding protects exterior, but any breach at the clad seam invites rot over time | Higher — seams and interior wood need monitoring | Projects prioritizing interior wood appearance, with realistic upkeep expectations |
| Aluminum | Prone to condensation and thermal transfer unless thermally broken | Moderate | Specific architectural or commercial-style applications |
We don't push one material on every job. What we push is being honest about the trade-offs — a wood-clad window can look great, but in a climate with this much sustained moisture and moss growth, it asks more of the homeowner in upkeep than vinyl or fiberglass does. That's a maintenance conversation we'd rather have up front than after the fact.
Our Process on a New-Construction Job
We walk the framing before windows ever arrive, checking rough openings against the actual window schedule rather than assuming the plans and the framing agree — they don't always. From there:
- Site walk and rough-opening verification against window specs
- Sill pan and flashing installation, sequenced with your WRB installer or builder so nothing gets covered before it's inspected
- Window setting, leveling, and fastening to manufacturer specification
- Head flashing and integration with the weather barrier
- Interior air sealing and trim-ready finish at the opening
- Final walkthrough with photos of the flashing details before siding closes the wall
That last step matters. Once siding goes up, the flashing work is hidden for the life of the house. We document it while it's still visible so there's a record of how the opening was built, not just a finished window staring back at you.
Mistakes We See on New-Construction Window Jobs
Most problems we get called to diagnose later trace back to a handful of recurring issues: flashing installed in the wrong lap order (letting water run behind instead of over), sealant used as a substitute for proper flashing instead of a backup to it, sill pans left flat instead of sloped to drain, or fasteners driven at the wrong angle through the nailing fin, which can rack the frame slightly and cause a window that never latches or seals quite right. None of these show up on move-in day. They show up as a stain on the drywall below a window two winters later, or a soft spot in the sheathing during a future remodel. We build every installation assuming it will face a full Snohomish County winter of driving rain, because it will.
Energy Code and Permitting in Snohomish County
Washington's energy code sets minimum performance requirements for new-construction windows, including U-factor and solar heat gain coefficient targets that vary by how the rest of the building envelope is performing. New builds and additions in Everett and Lynnwood fall under the same statewide code baseline, and permitted work typically requires those windows to carry NFRC labels showing their rated performance. We spec windows that meet or exceed code for the project rather than the bare minimum, since the marginal cost difference is usually small compared to the comfort and energy difference over the life of the home. If your project is going through permitting, we can supply the documentation your inspector or builder needs without you having to chase it down separately.
Homeowner Maintenance Checklist After Installation
Correct installation does most of the work, but a little seasonal attention extends the life of any window system in this climate:
- Rinse frames and tracks periodically to clear salt residue if you're within a few miles of open water
- Keep gutters and downspouts clear so roof runoff isn't dumping extra water onto window heads
- Watch for moss or algae buildup on north- and west-facing trim and clean it before it holds moisture long-term
- Check exterior sealant joints yearly for cracking or separation, especially after a hard winter
- Operate hardware seasonally so moving parts don't seize from disuse in damp weather
Why a Crew That Already Works Lynnwood Makes a Difference
Flashing details that work in a dry climate aren't automatically the right details here. A crew that installs new-construction windows regularly around Everett and Lynnwood already knows how driving rain moves across a wall, which orientations take the worst of it, and where moss and salt air tend to cause problems first. That's not something you can fully substitute with a spec sheet — it's built from doing this work, on homes like yours, in this specific climate, over and over.
If you're framing an addition, building new, or just want a second opinion on how your window openings are being detailed, we're glad to take a look and give you a straight answer. Reach out for a free, no-pressure estimate — the form below gets you started.