 Everett
 Siding Installation Built for Eastmont's Weather, Not Just Its Looks
Eastmont homes sit in one of the more demanding climates in Snohomish County for exterior materials. The combination of salt-laden air drifting off Puget Sound, long stretches of driving rain, and a moss season that can run from late fall through spring puts constant pressure on siding. A product or installation that would hold up fine in a drier inland climate can fail years early here if it's not matched to what this specific area actually deals with.
This page focuses on one job, done right, in one place: siding installation for Eastmont homes in Everett. Not a general overview of siding options, not a sales pitch — just what local homes actually need, what a correct installation looks like, and why the details matter more here than they would somewhere drier.
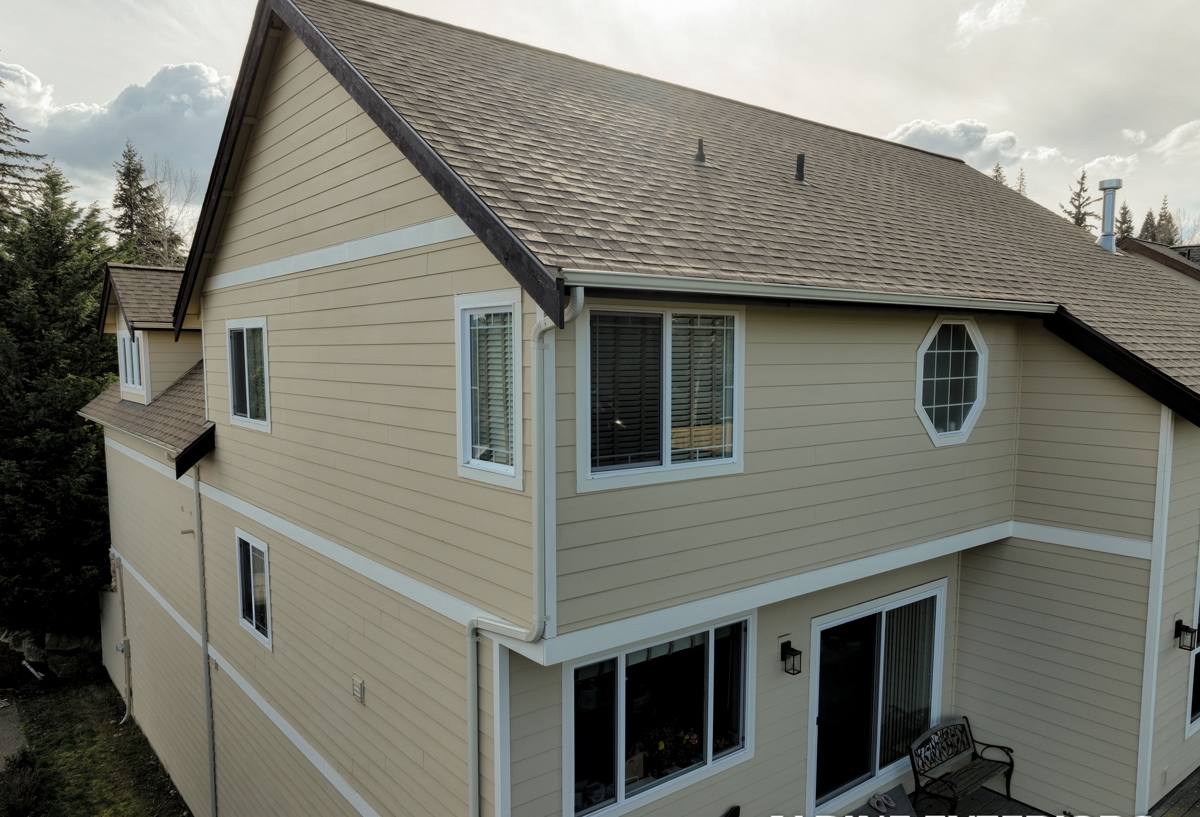
What Eastmont's Climate Actually Does to Siding
Three conditions do most of the damage over time:
- Salt air: Airborne salt accelerates corrosion on fasteners, flashing, and any metal trim components. It also breaks down cheap paint finishes faster than inland exposure would.
- Driving rain: Wind-driven rain doesn't just hit siding — it gets pushed sideways and upward at seams, corners, and penetrations. Siding that isn't detailed to shed water at those points will eventually let moisture behind it.
- Extended moss season: Shade, moisture, and mild temperatures create ideal conditions for moss and algae growth on north-facing walls and anywhere siding stays damp longer than it should. Beyond the appearance issue, sustained moss growth holds moisture against the surface.
None of this is unique to Eastmont specifically — it's the reality for most of Everett and the broader Snohomish County lowlands. But it's exactly why installation quality matters as much as, or more than, the product itself.
What a Correct Siding Installation Actually Involves
Siding failure is rarely about the panel itself. It's almost always about what happens behind and around it. A correct installation for this climate includes:
A proper water-resistive barrier
Every wall needs a continuous weather-resistive barrier installed and lapped correctly before siding goes on. Gaps, tears, or improper overlaps at seams and penetrations are where water gets in — and once it's behind the siding, it can sit there for months during a wet Pacific Northwest winter before anyone notices a problem.
A rainscreen gap where it's called for
A small drainage gap between the back of the siding and the water-resistive barrier lets any moisture that does get past the surface drain and dry out instead of sitting against the wall sheathing. This is especially valuable on walls that take direct wind-driven rain.
Correct flashing at every transition
Windows, doors, roof lines, decks, and any other penetration need flashing that directs water outward and downward — never a reliance on caulk alone. Caulk degrades; flashing, installed correctly, doesn't depend on maintenance to keep working.
Fastening to manufacturer spec
Nail placement, spacing, and depth all affect how a fiber cement panel performs over decades. Overdriven or underdriven fasteners are a common source of premature failure — and it's a detail that's invisible once the job looks finished, which is exactly why it matters who's doing the work.
Why We Install Only James Hardie Fiber Cement Siding
We don't install vinyl, LP SmartSide, or other fiber cement brands. We install James Hardie exclusively, and in a climate like Eastmont's, that's a deliberate standard rather than a brand preference.
Fiber cement doesn't absorb moisture the way engineered wood products can, and it doesn't expand and contract with temperature swings the way vinyl does — which matters when panels are exposed to both driving rain and temperature shifts across the seasons. Hardie's ColorPlus factory finish is baked on under controlled conditions, which holds up better against salt air exposure than field-applied paint. And Hardie is non-combustible, which matters everywhere but is simply good practice regardless of local wildfire risk.
We standardized on one manufacturer because it lets us install to one spec, know that spec cold, and back it with a straightforward, transferable warranty — instead of juggling installation quirks across several product lines.
Choosing the Right Hardie Line for This Area
Hardie engineers its siding by climate zone (HZ5 and HZ10), which affects the composition of the product for local moisture and temperature conditions. For the Everett area, that means a product built with our wet, marine-influenced climate in mind rather than a generic national spec. Within that, homeowners still choose between lap siding, panel siding, and shingle-style accents, plus a ColorPlus color from Hardie's factory-finished palette — we'll walk through what fits the home's existing trim, roofline, and exposure before making a recommendation.
Our Installation Process
- On-site assessment: We look at current siding condition, sheathing condition underneath (where accessible), existing moisture damage, and exposure — which walls take the worst of the wind-driven rain, which stay shaded and moss-prone.
- Removal and inspection: Old siding comes off and we inspect sheathing for rot or soft spots before anything new goes up. Problems found here get addressed, not covered.
- Weather barrier and flashing: Water-resistive barrier goes on continuous and correctly lapped, with flashing detailed at every window, door, and penetration.
- Furring/rainscreen where appropriate: Based on wall exposure and existing wall assembly, we add a drainage gap where it will meaningfully help.
- Hardie installation to spec: Correct fastener type, spacing, and clearance from grade, decks, and roof lines, per manufacturer requirements.
- Final trim, caulking, and touch-up: Factory-finished ColorPlus panels need touch-up paint only at cut edges — matched to the factory color.
- Walkthrough: We go over the finished job with the homeowner before calling it done.
Common Problems We See on Older Everett Homes
A lot of the siding replacement calls we get in and around Eastmont share the same root causes:
| What we find | Underlying cause |
|---|---|
| Soft or rotted wall sheathing at the bottom of a wall | Missing or failed flashing letting water track down behind the siding for years |
| Persistent moss and dark staining on north or shaded walls | No drainage path behind siding, keeping the surface damp longer than it should be |
| Paint failure and chalking on painted wood or fiber cement | Field-applied finish breaking down faster under salt air exposure than a factory finish would |
| Cracking or buckling at panel joints | Incorrect fastening or panels installed without the manufacturer's required expansion clearance |
None of these are inevitable. They're the result of installation shortcuts that don't show up as a problem until years later — which is exactly why the install matters more than the sales pitch.
Cost Factors for Siding Installation in Eastmont
Every home is different, but the same variables tend to move the price on a siding installation project in this area:
| Factor | Why it affects cost |
|---|---|
| Home size and wall area | More square footage means more material and labor hours |
| Number of stories | Second-story and multi-story work requires more staging, scaffolding, or lift access |
| Existing siding removal and disposal | Tear-off adds labor and disposal cost versus new construction |
| Sheathing repair or replacement | Moisture damage found during removal has to be fixed before new siding goes on |
| Trim, windows, and architectural detail | More corners, windows, and transitions mean more flashing and cutting labor |
| Siding profile and accent choices | Mixing lap siding with shingle-style accents or board-and-batten adds labor over a single flat profile |
We give a firm, itemized quote after an on-site look — not a phone estimate — because these variables genuinely change the number, and a homeowner deserves to see exactly what's driving it.
What Homeowners Should Check Before Hiring Anyone for This Job
- Ask specifically how they handle flashing at windows, doors, and roof-to-wall transitions — vague answers here are a warning sign
- Ask whether they're installing to the manufacturer's written installation instructions, not just "how we always do it"
- Confirm what happens if they find rotted sheathing once old siding comes off — get this in writing before work starts
- Ask about fastener type and spacing for wind and moisture exposure specific to your wall orientation
- Check that any warranty is actually transferable if you sell the home
- Ask whether they work in your specific neighborhood regularly, or if this would be their first job in the area
Why a Crew That Already Works in Eastmont Matters
Siding installation isn't a one-size-fits-all trade. A crew that regularly works Eastmont and the surrounding Everett area already knows which walls tend to take the worst of the wind-driven rain, which sides of a house fight moss the hardest, and how salt air exposure plays out differently a mile inland versus closer to the water. That local pattern recognition shows up in small decisions — where to add a drainage gap, which corners need extra flashing attention, how aggressively to detail a north wall — that a crew unfamiliar with the area might not think to make.
It also means accountability doesn't end when the truck leaves. A local crew is around to stand behind the work, not just the manufacturer's warranty paperwork.
Ready for a Straight Answer on Your Siding
If your Eastmont home's siding is showing moss buildup that won't stay gone, paint that's failing faster than it should, or soft spots near the bottom of the walls, it's worth getting a real look before deciding what to do. We'll walk the exterior, tell you honestly what we find, and put together a clear, no-pressure estimate for James Hardie siding installation done to spec for this climate. Use the form below to request your free estimate.